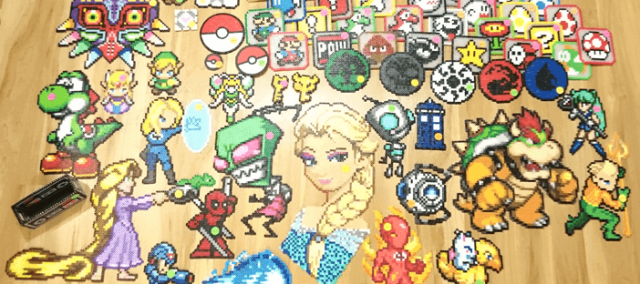
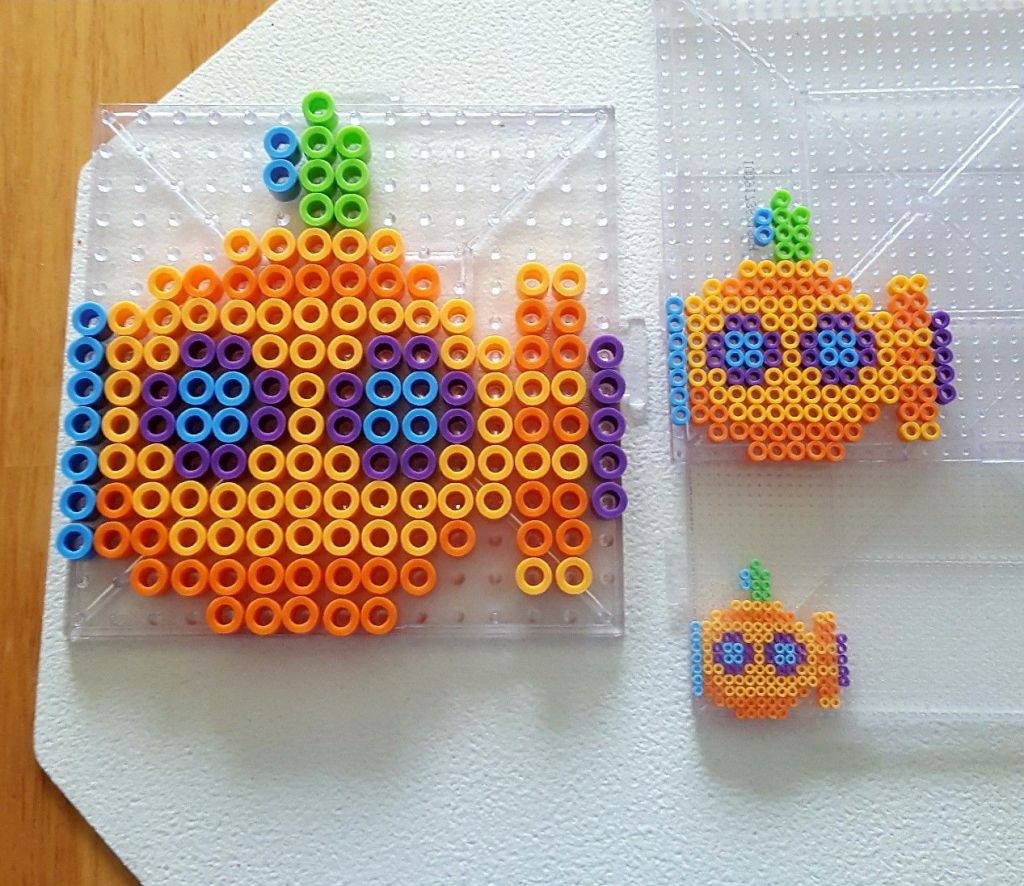
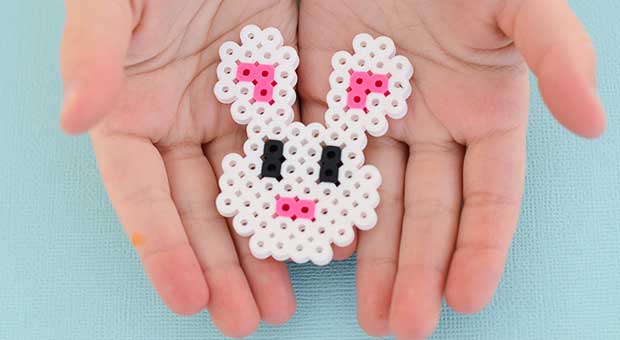
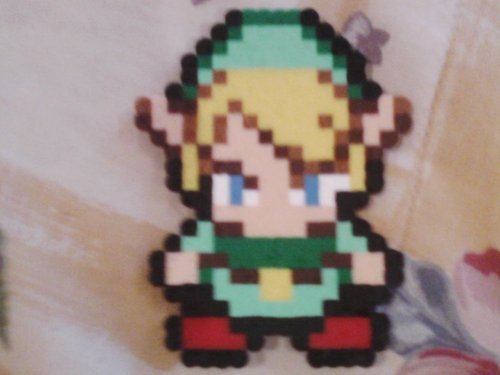
There’s more to do with Perler beads than simiple “2-dimensional” characters. Let’s check some of ’em out!
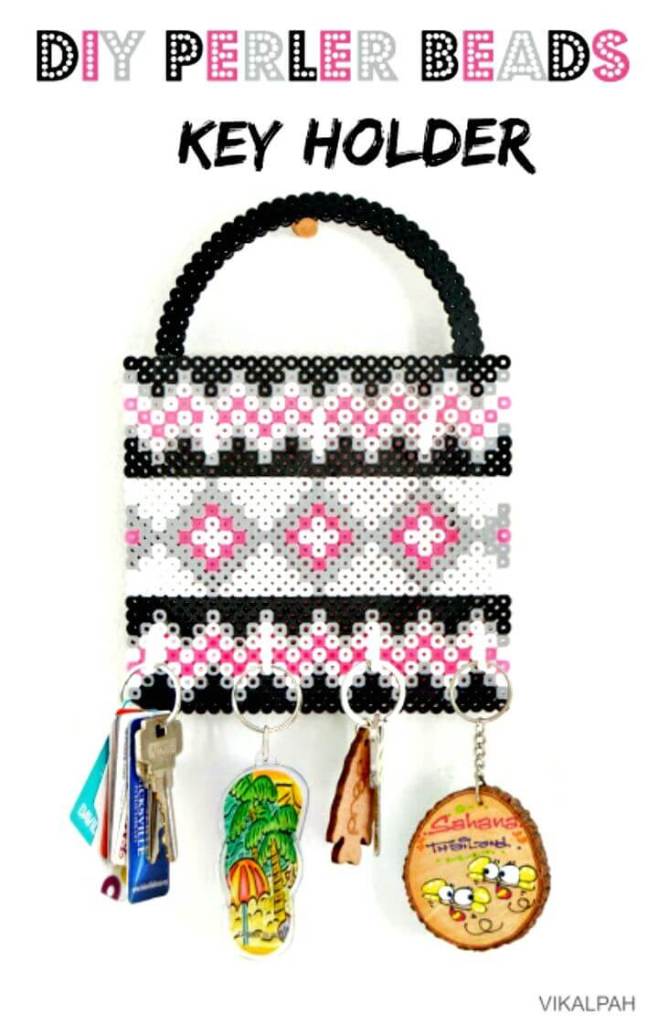
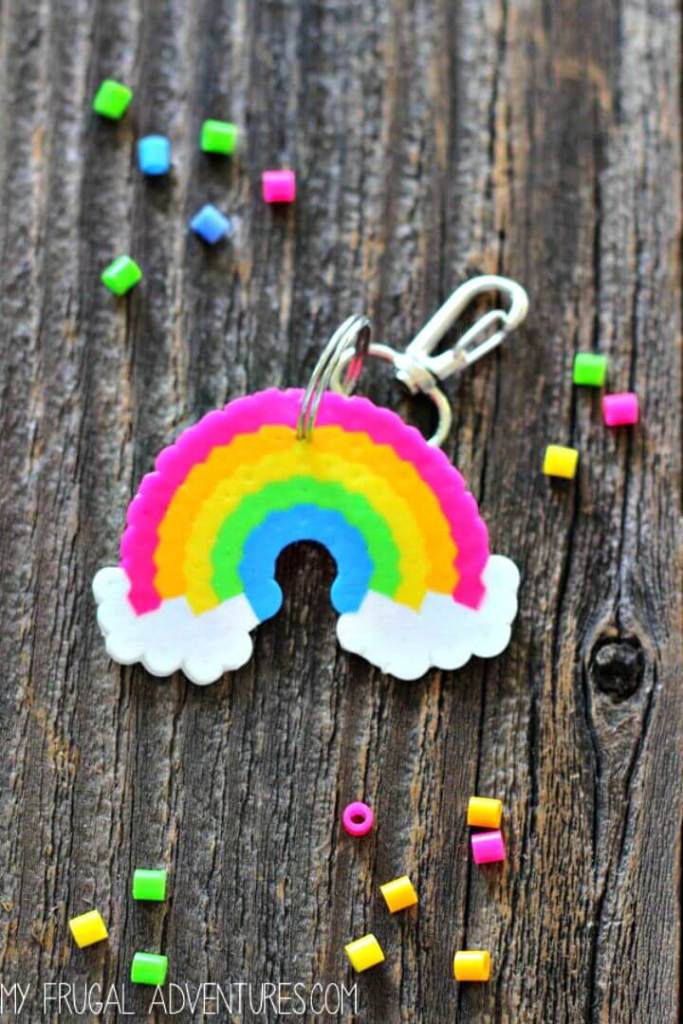
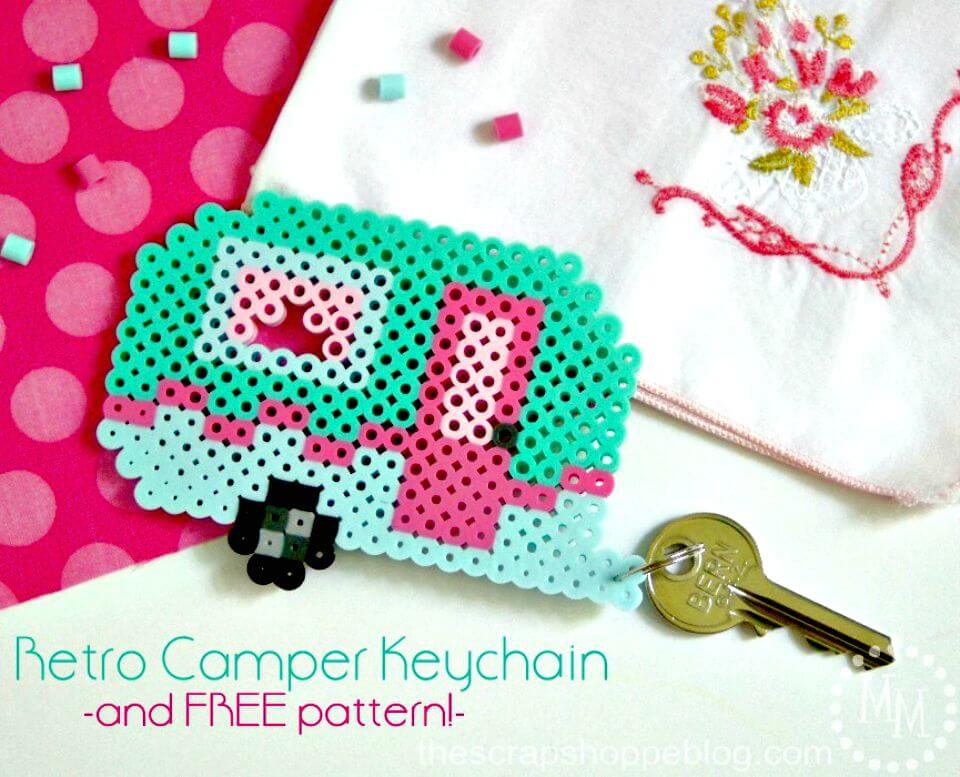
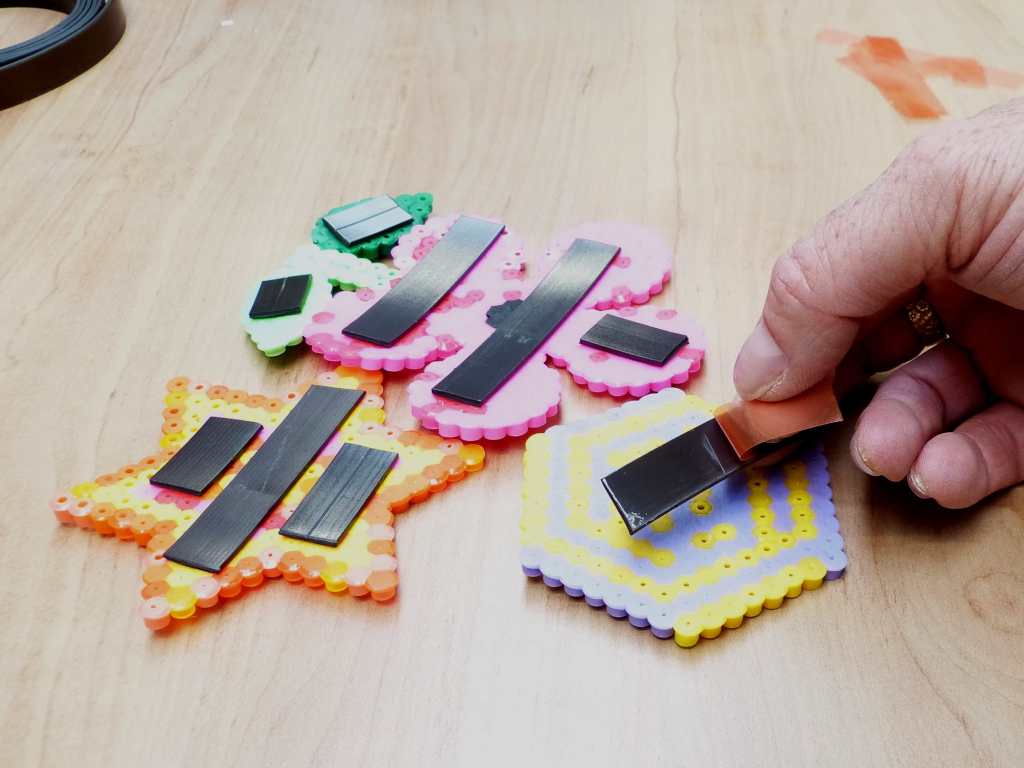
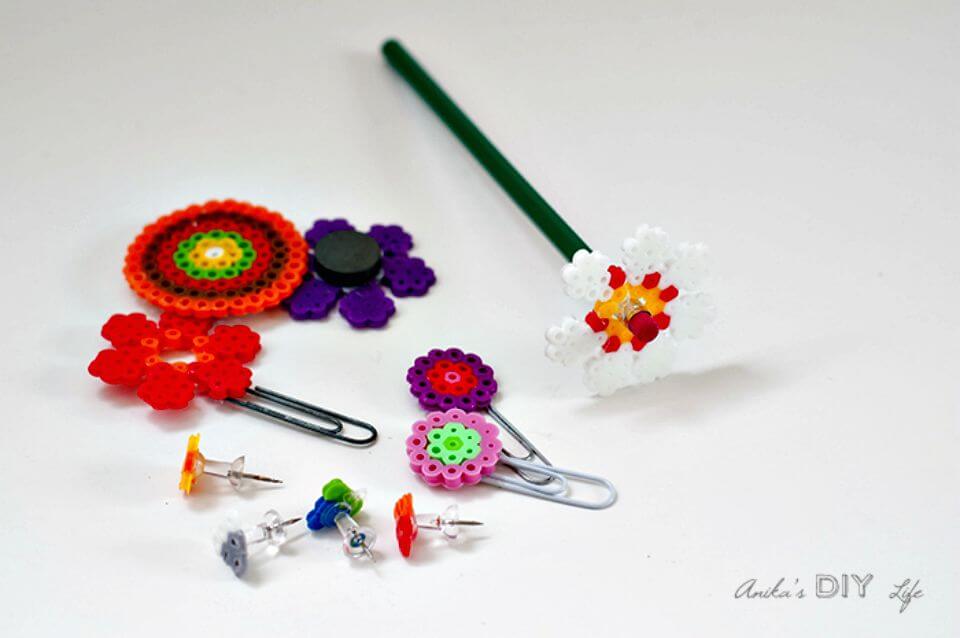
Keychains and Magnets
After finishing tinier projects, I like to make them gift-able by turning them into keychains or magnets. Perfect for family and friends!
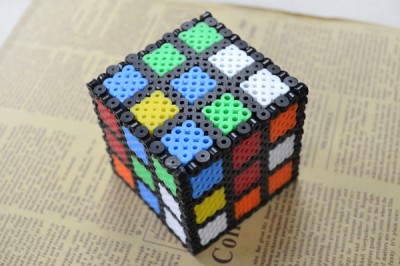
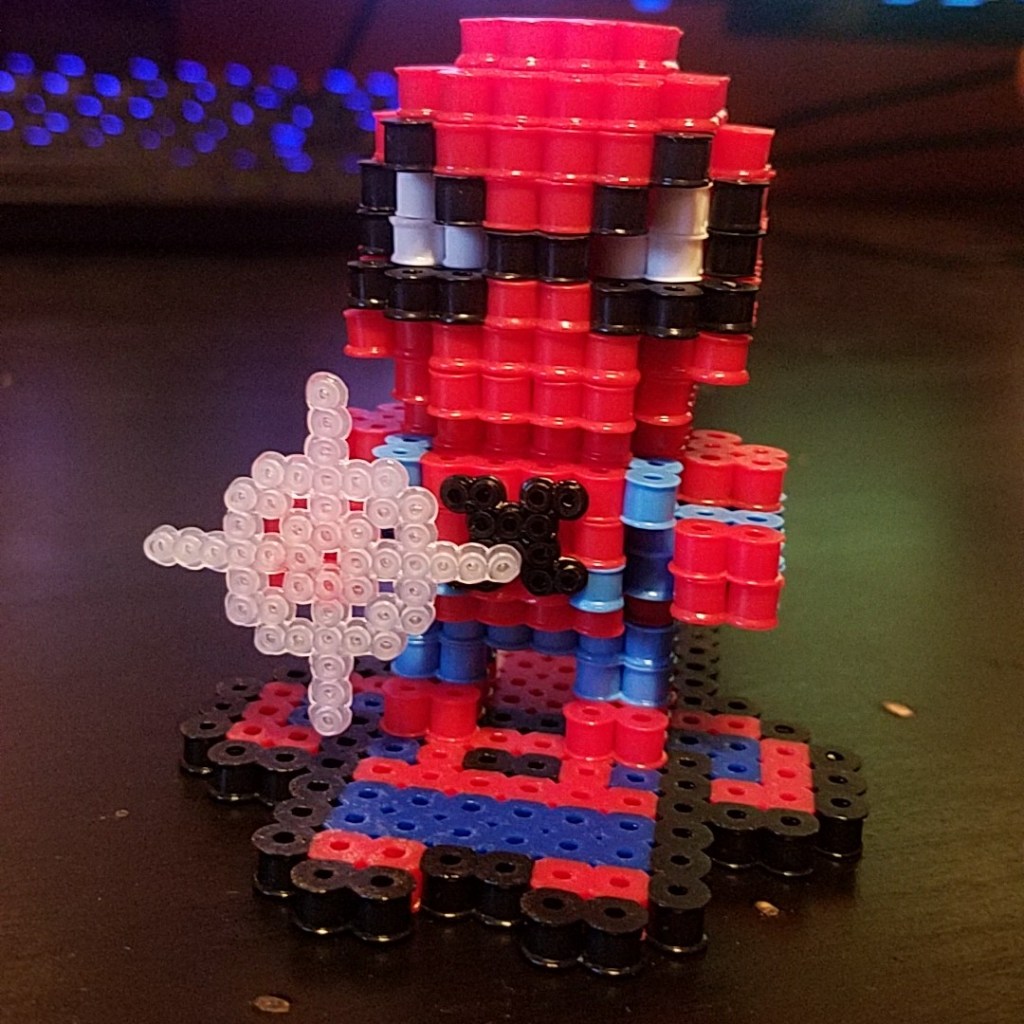
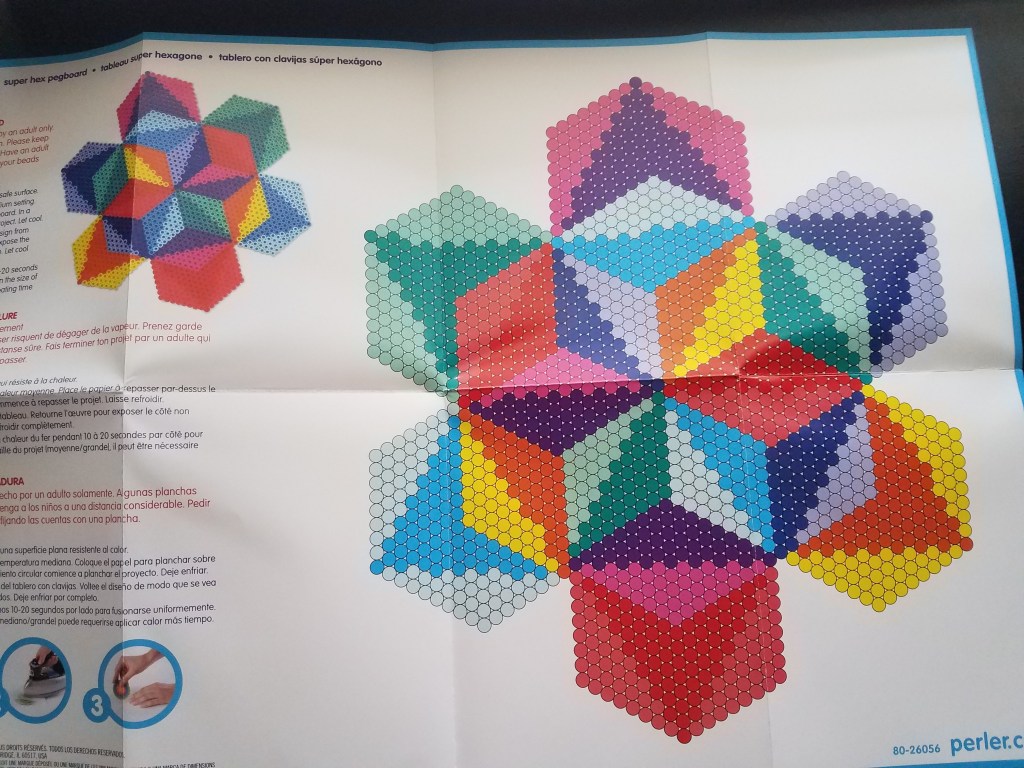
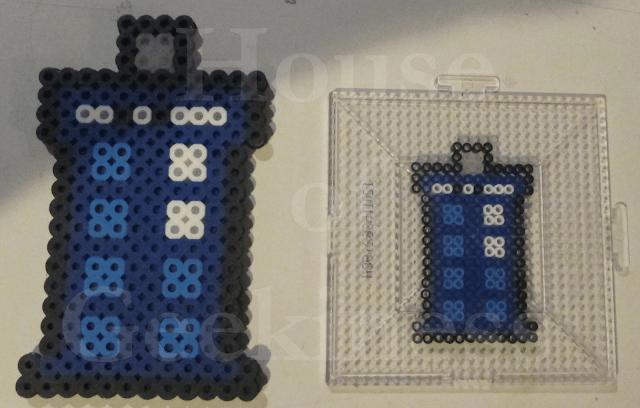
3D
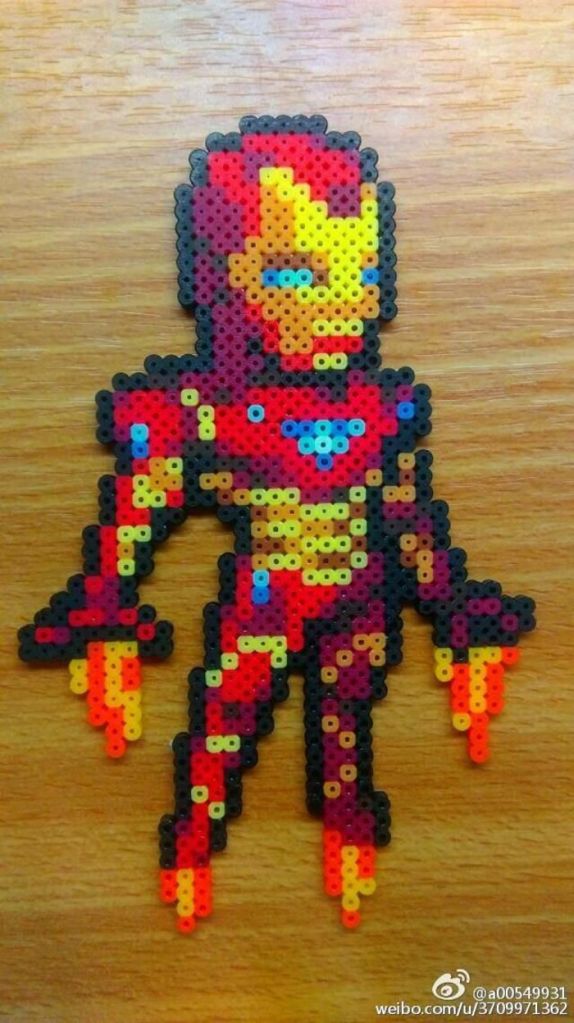
I’ve only attempted to make one 3D thing before and that was a small birthday cake (I don’t know where it is currently, so no picture). There are 2 different ways to make 3D objects: 1. layering flat pieces on top of each other (like Spider-Man up there) OR 2. leaving holes for clicking pieces together.
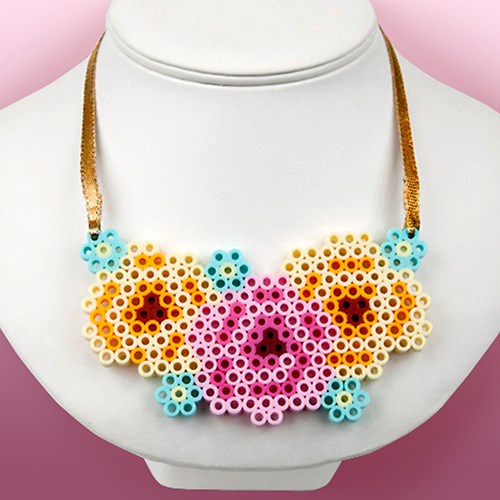
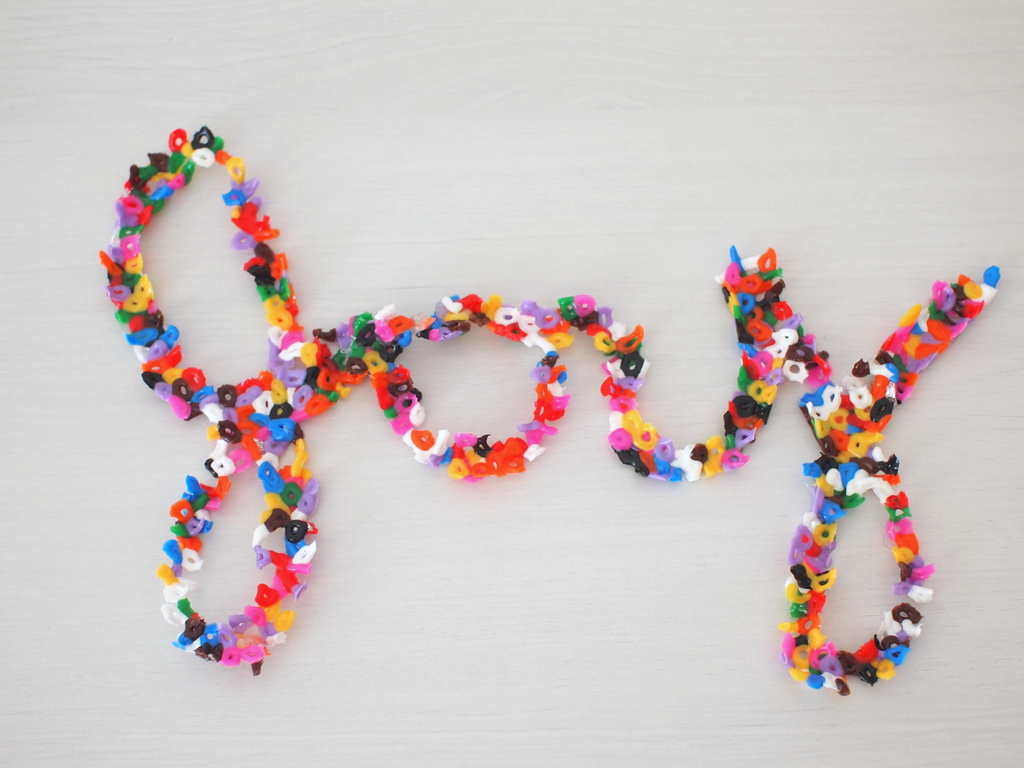
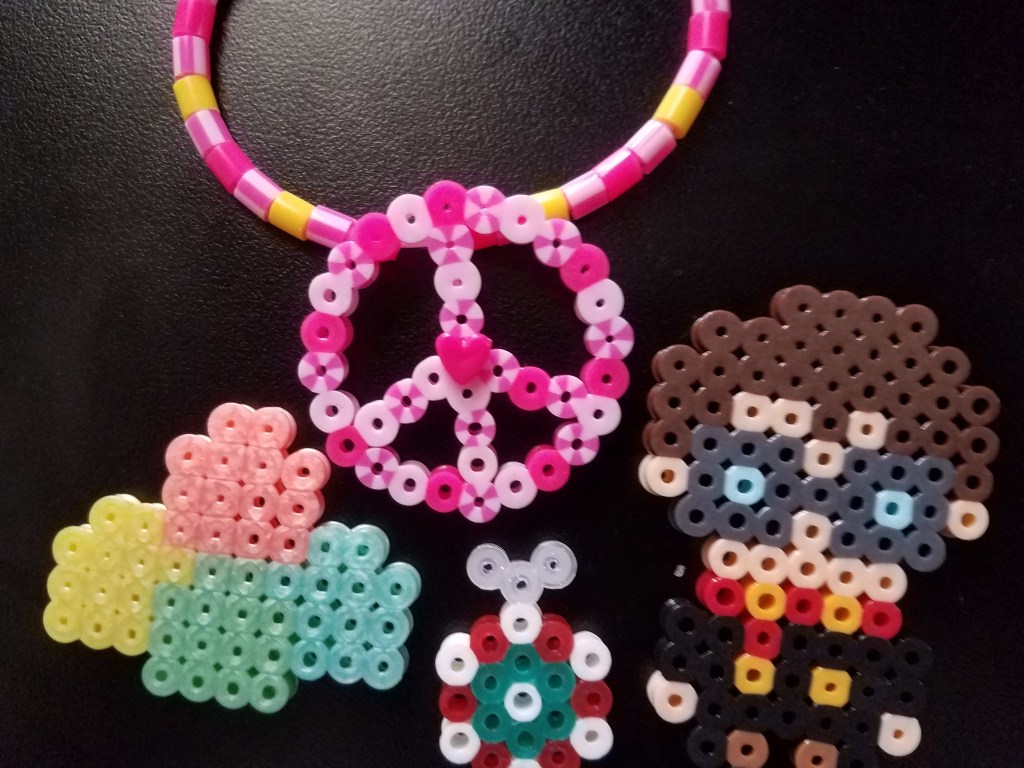
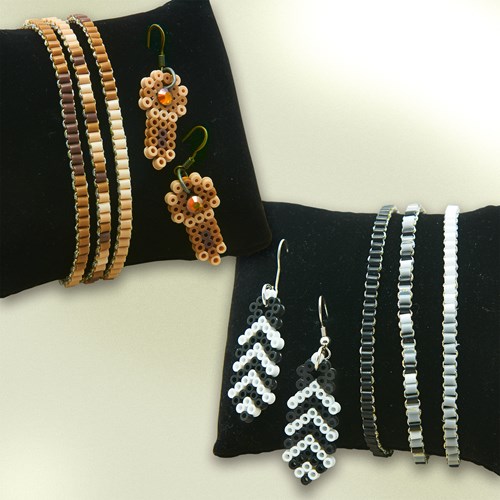
Jewelry
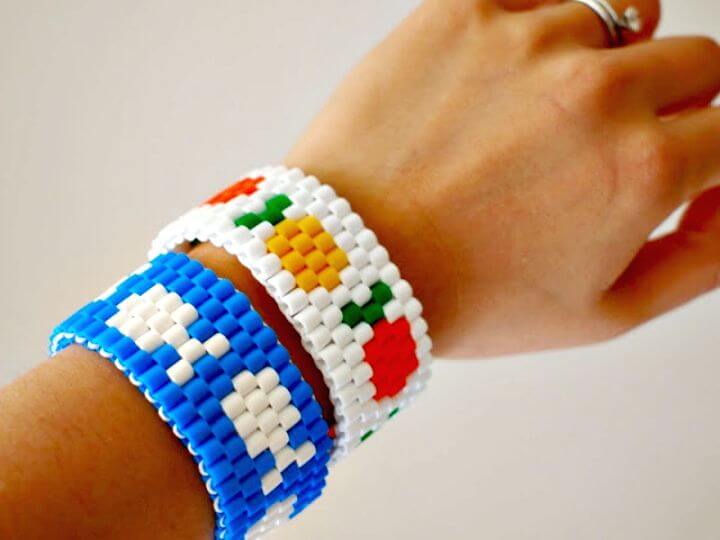
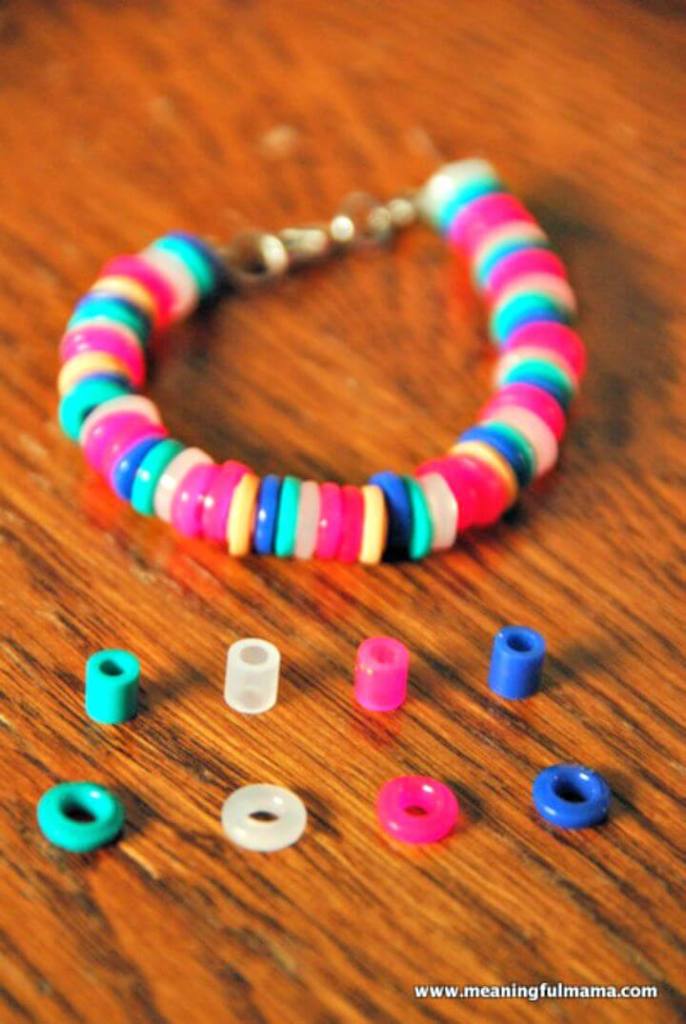
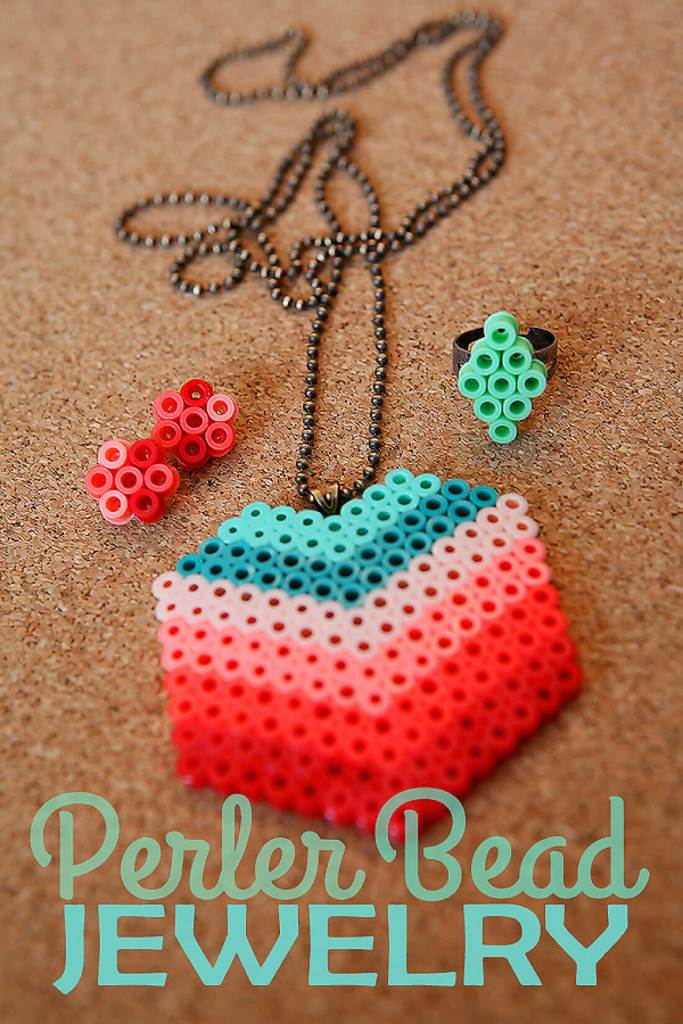
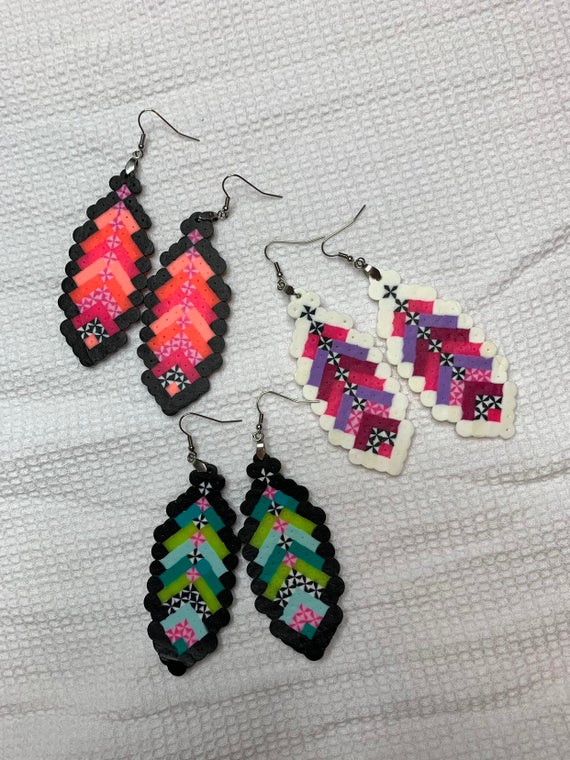
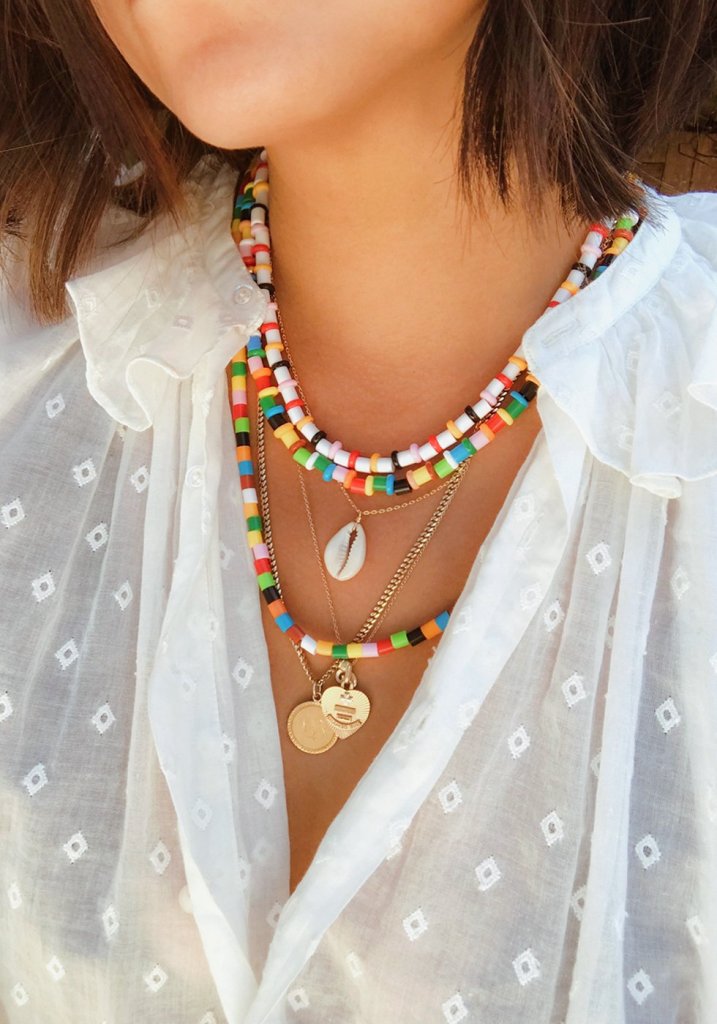
Another relatively harmless way to mess with Perler beads is to string them, particularly into jewelry. I find that mini beads are perfect for earrings, though. Honestly, I didn’t realize just how diverse Perler bead jewelry could be. I especially love that multicolored necklace with the puka shell!
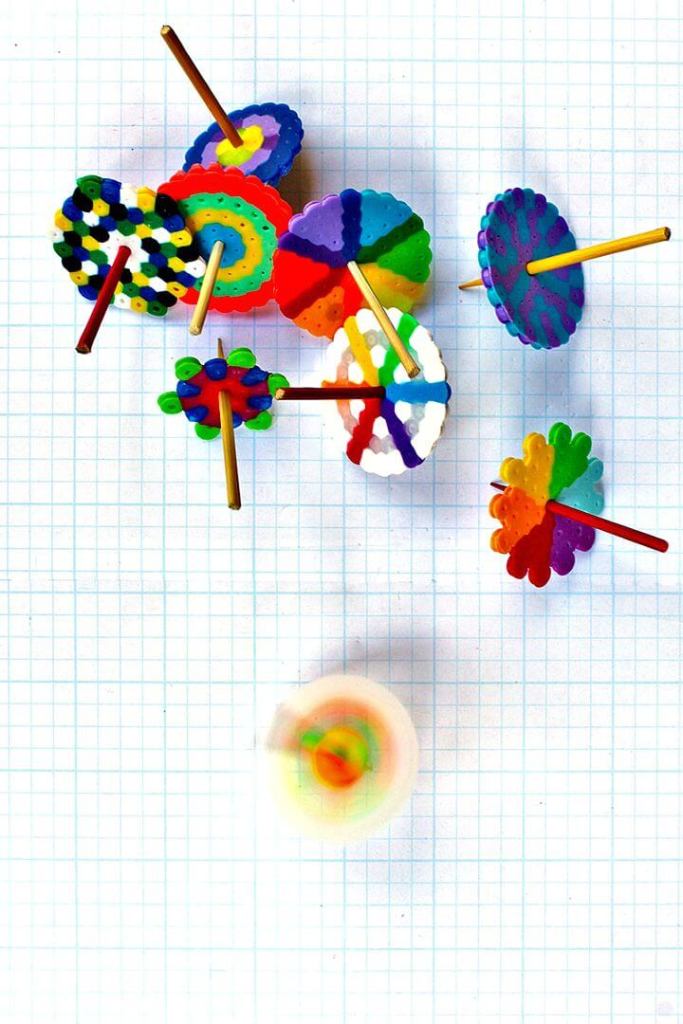
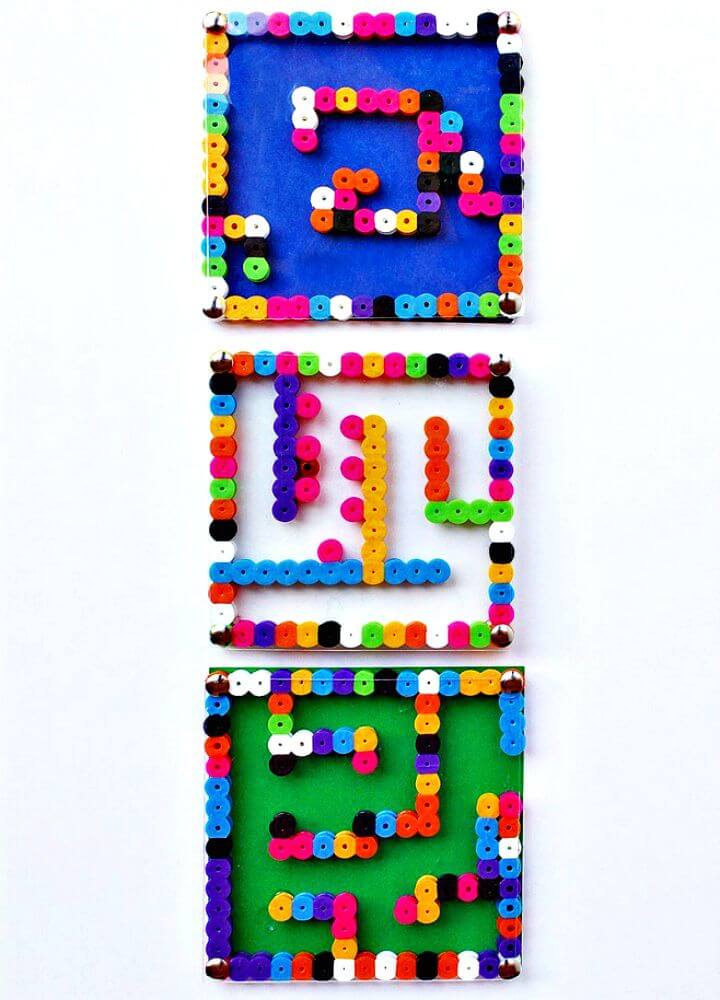
Games
Tops, mazes, and Tetris! These fun activities put the “play” in this otherwise display craft (I’m so sorry for that failed pun).
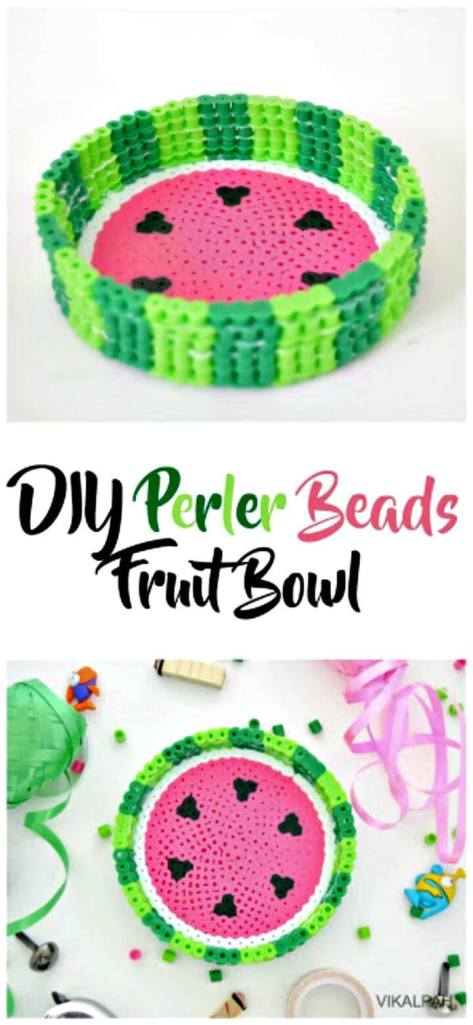
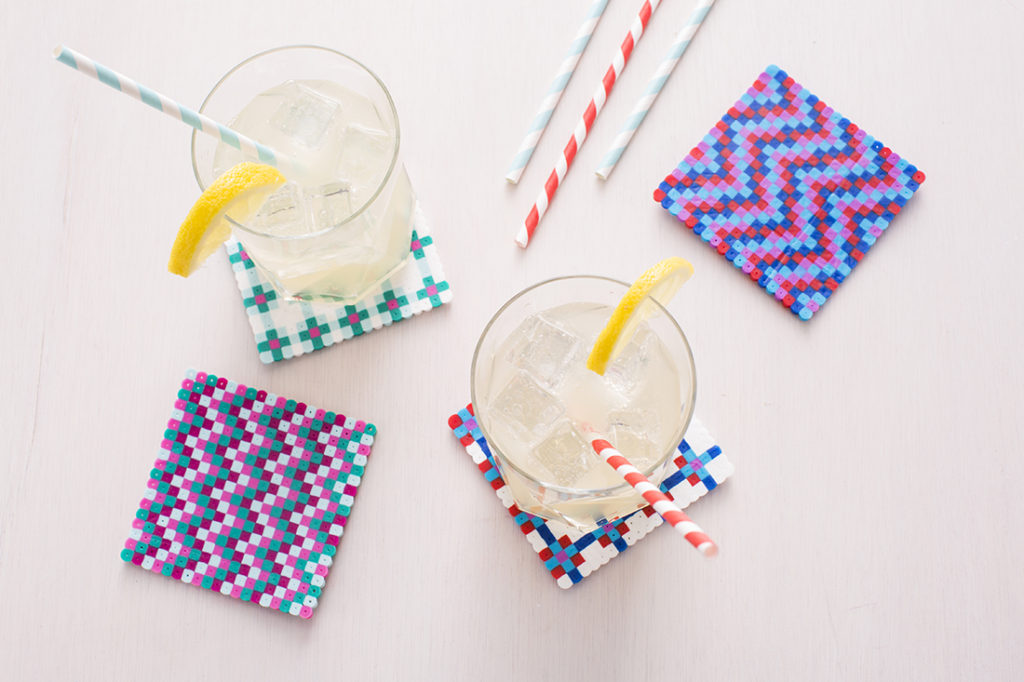
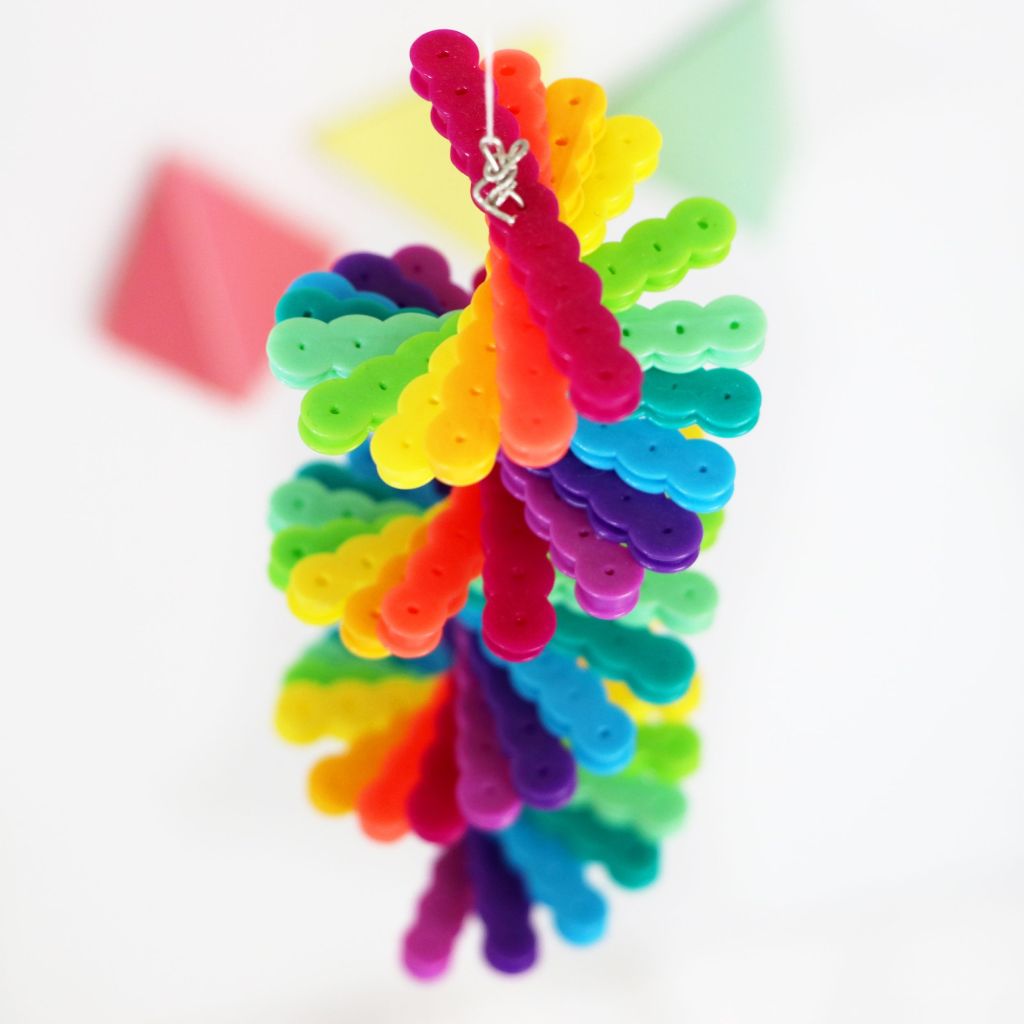
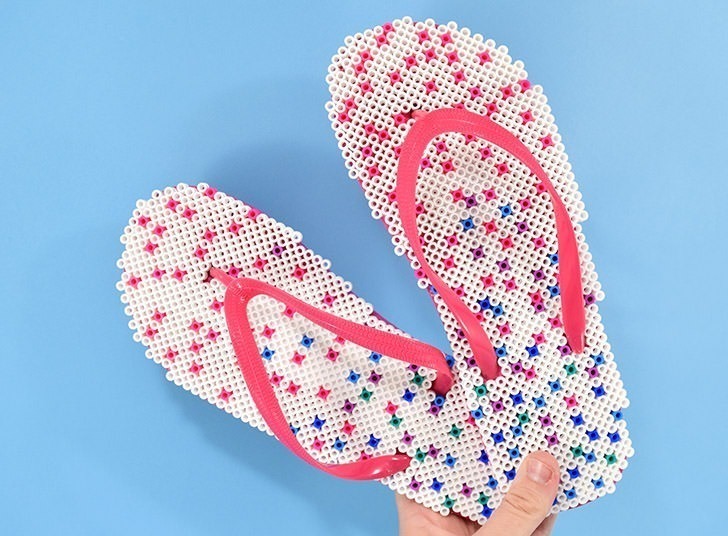
Summer
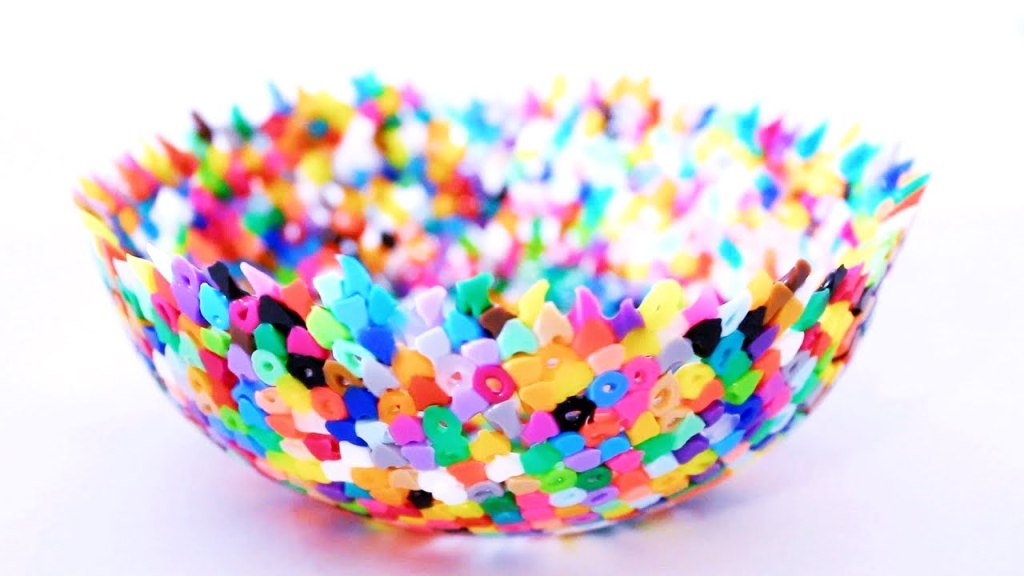
I love the drink coasters. There are so many possible designs you can do for them; just glue a thin sheet of cork under one and you’re good to go. The bowl is a little different in that you carefully arrange beads into a heat-safe bowl, place it in the oven, and it’ll come out like that. Pretty cool! The rainbow wind-spinner is perfect for a breezy day, and the flip flops look cute but I’ll admit I’m not too sure how comfortable they’d be, haha!
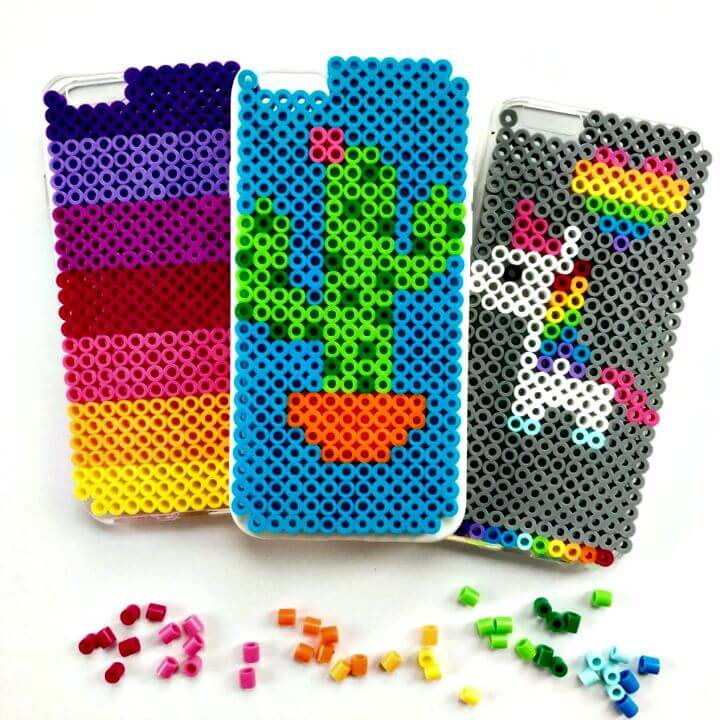
Miscellaneous
Believe it or not, that’s just a tiny glimpse into the cool stuff you can make with these beads. Perler is slowly gaining popularity as of late, and I can’t wait to see what new, awesome projects its fans, myself included, come up with!
Perler beads were designed for harmless children’s entertainment. However, what’s NOT harmless is the fact that a burning hot utensil must be used to fuse their creations together for later play. Parents don’t always have time to iron at the moment, and the last thing we want is for kids to wind up hurt trying to do it themselves. How do we counteract this? Perler has a few no-iron solutions that I decided to test for myself.
Stixels
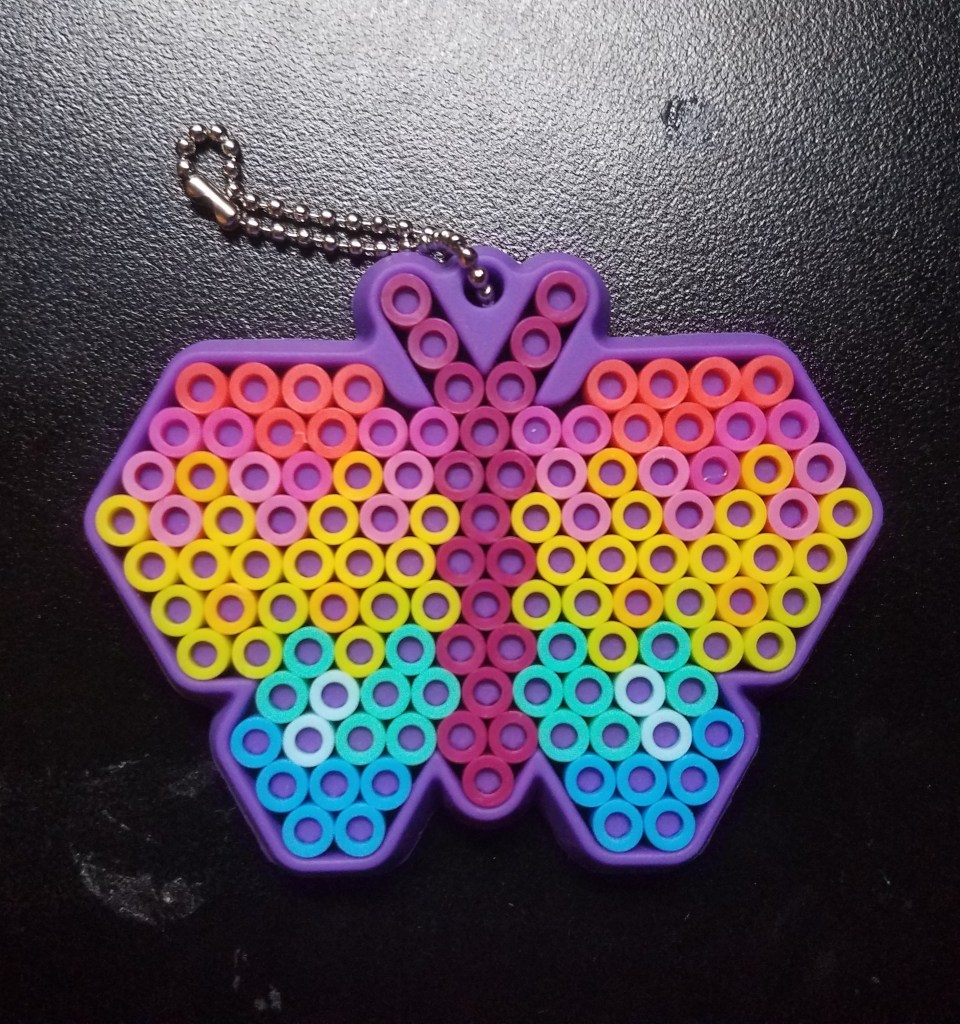
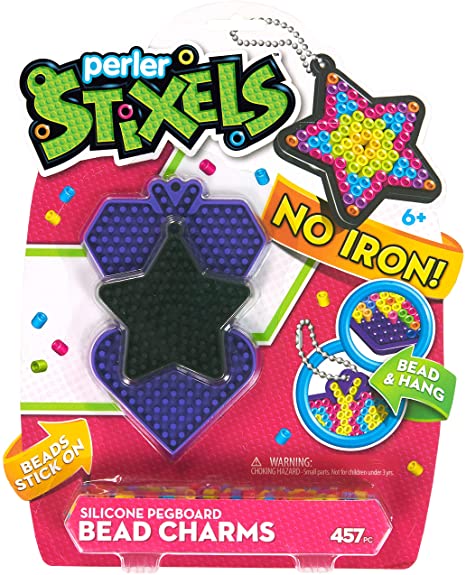
Probably the obvious solution. Stixels function in much the same way that perler bead crafting is supposed to, i.e. placing beads on a pegboard. The only difference is that the “pegboard” is made of silicone with pegs that allow you to slide the beads firmly into place, and trust me when I say that the beads aren’t going anywhere. After making the butterfly you see in the picture, I decided to experiment its durability by chucking it across the room. It landed multiple times on both carpet and tile floors, yet in all those trials it never once lost a single bead. Kind of impressive, actually. That being said, if you so desired to change the pattern, you can still remove the beads using tweezers. All Stixels kits come with a ball chain, which is perfect for turning your creations into key-chains and hanging them on, let’s say, a backpack.
Sliders
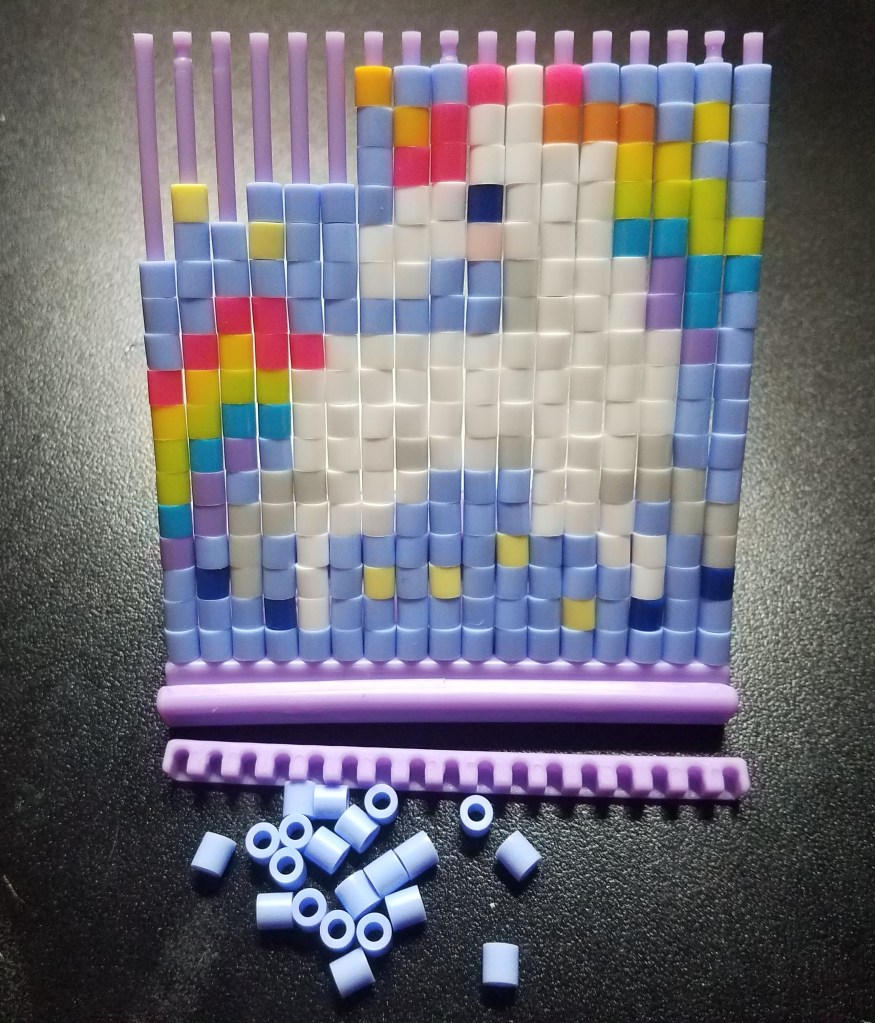
some beads and top removed for easy visual of the rods
Contrary to their name, Sliders do not refer to delicious tiny sandwiches. I found Sliders to be a somewhat different experience from typical perler beading. Rather than spreading beads across a board, you’re instead stacking them across multiple rods. It’s almost akin to weaving a tapestry. This activity is easily more delicate than the Stixels because it doesn’t take much to snap the rods out of place from the top holding them together. Definitely more of a show-off piece, and the kits even give you a stand to place it on.
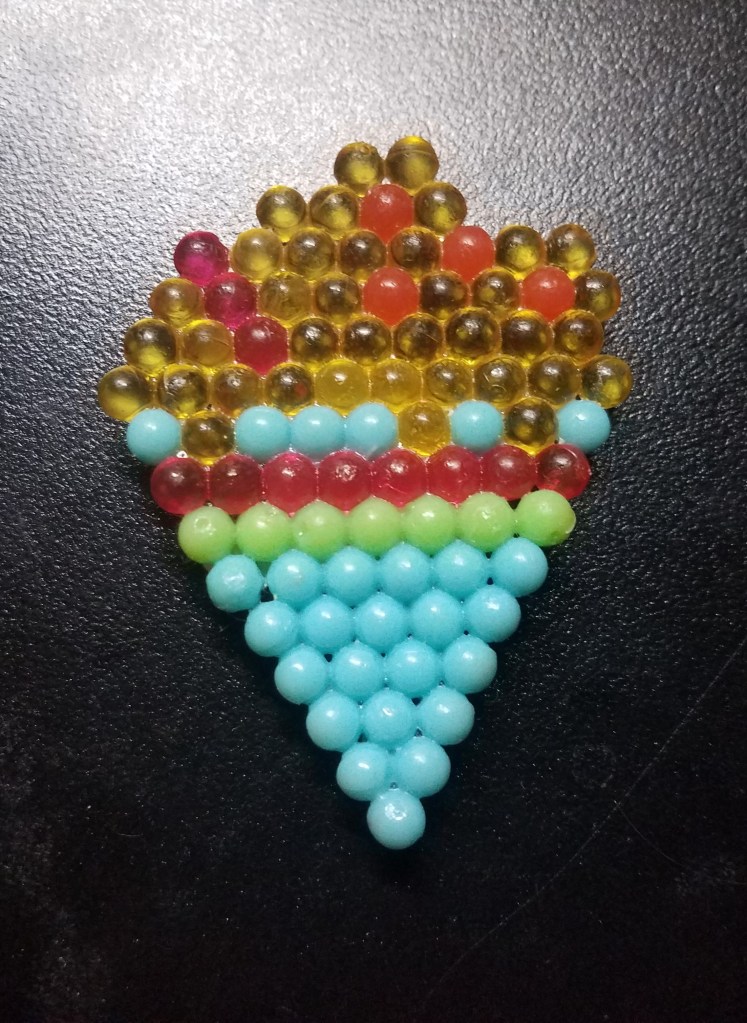
H20
Perler beading….with water! Except not exactly. Instead of placing plastic beads on spiky pegs, you’re putting solid, smooth balls into concave holes. When you’re done making the pattern, you then spray your creation with water. The balls will absorb the water and expand, releasing a glue-like substance that will cause them to stick together. It’s kinda cool. The only downside to this is the wait time. It’s generally recommended that you wait 30-60 min before handling the creation. I’m here to tell ya, I ain’t got the patience for that and I certainly flubbed a couple projects because of it. Not to mention the wait time can be much longer if you completely drowned the balls, and anything involving glue is gonna get messy!
Final Thoughts
I think it’s smart of Perler to branch out with no-iron activities like this. While I enjoyed making these projects, I can safely say they’re better suited for kids. They’re a bit lacking for the older consumers, but they make for great mindless fun on those days when you just want to create without thinking about it. In my opinion, Stixels are the best no-iron alternative. Stay crafty!
This week’s blog is an exploration in color, and Perler has over a hundred of them!
Solid
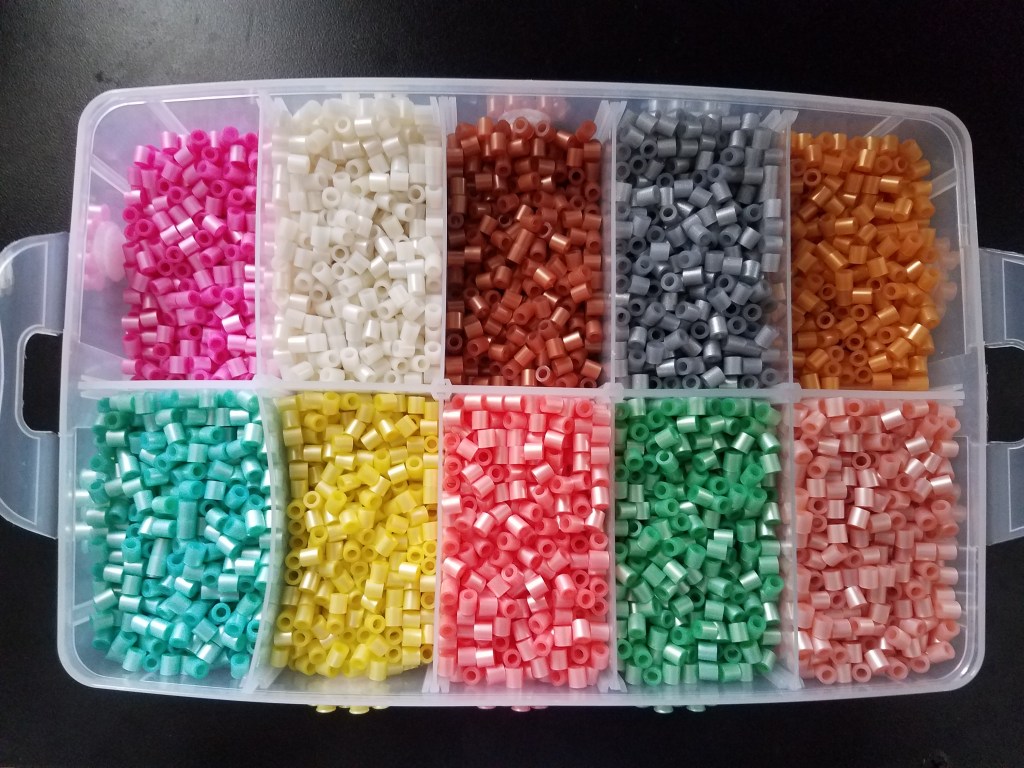
I am proud to admit that I have every solid color Perler has to offer. I used to be very strict about using only them because…well, how often have you seen a pixelated video game character that glitters? It’s clear that Perler has been rising in popularity lately as they’ve released up to 30+ new colors in the last two years! Look at all those new oranges! I will admit that the limited colors before did make for some out-of-the-box thinking when it came to shading, but still! You have no idea how long I’ve been waiting for that darker purple! With so many colors to choose from, the creative possibilities are endless.
Stripes
I’ve carefully collected all these stripe colors from various kits over the years
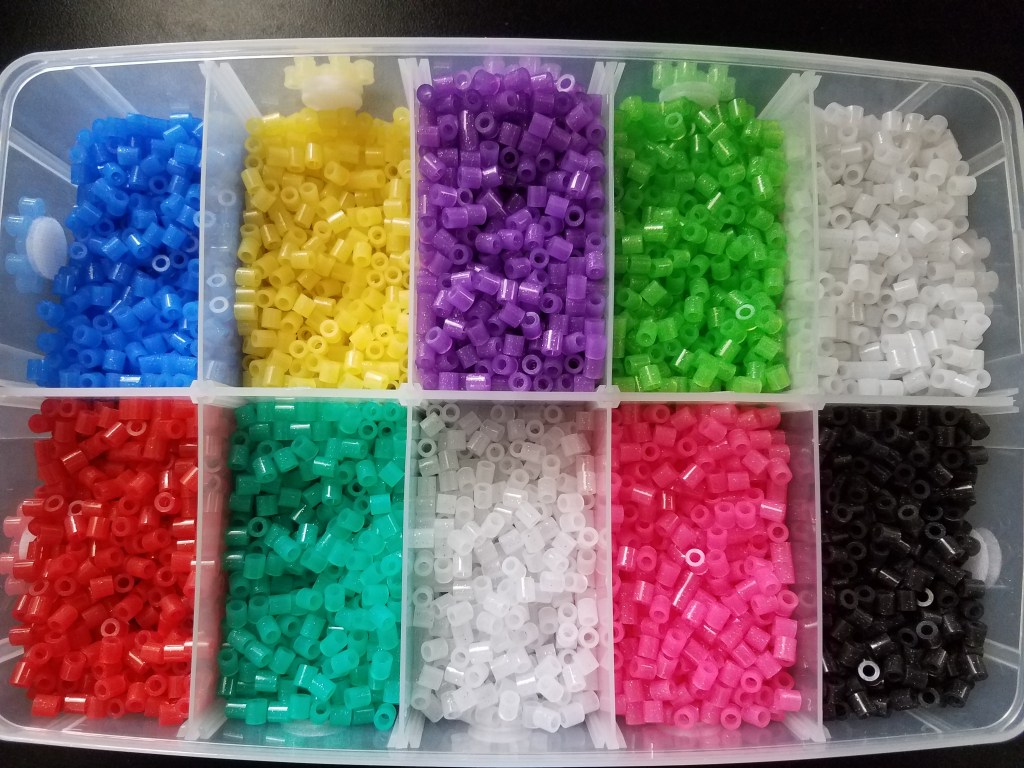
As I mentioned above, I didn’t used to care about the sillier colors, like the stripes. I still don’t, to some degree, but what was I supposed to do? Say, “Sorry, Grandma. I appreciate you getting this bead kit for me, but it would’ve been better if it didn’t include the stripes”? Besides, every now and then, a project will come along that makes good use for them. I’ve seen people use the ‘cinnamon stripe’ (red and white, which I don’t have in the picture) for candy canes and other Christmas projects. Personally, I think strung jewelry shows the stripes off the best. You may have noticed that some of the colors in the picture are shinier than others, and that’s because they are mixed with……
Pearls
As the name suggests, these colors have the soft, shiny luminescence of a pearl. I include the metallics (gold, silver, and bronze) with these because they’re made with that similar shininess. You can find the pastel pearl colors in Perler’s ‘Sweet Shoppe’ bucket, and that’s where I got most of them from. The fuchsia and white pearls are very hard to come by. You can only find them in specific individual mixed bags, like ‘Jewel Tone’ and ‘Winter’. Let’s just say I’ve done some careful and meticulous collecting over the years.
Glitters
Also in that ‘Sweet Shoppe’ bucket I mentioned above are these glitters. Only a few colors, though. Unlike the pearls, you can get most of these glitters in their individual bags. Aside from having glitter mixed into them, these beads are also translucent and make for an interesting effect when ironed. That being said, I find you can’t see the glitter all that well after ironing. Just like the stripes, I think strung jewelry shows off the glitter best.
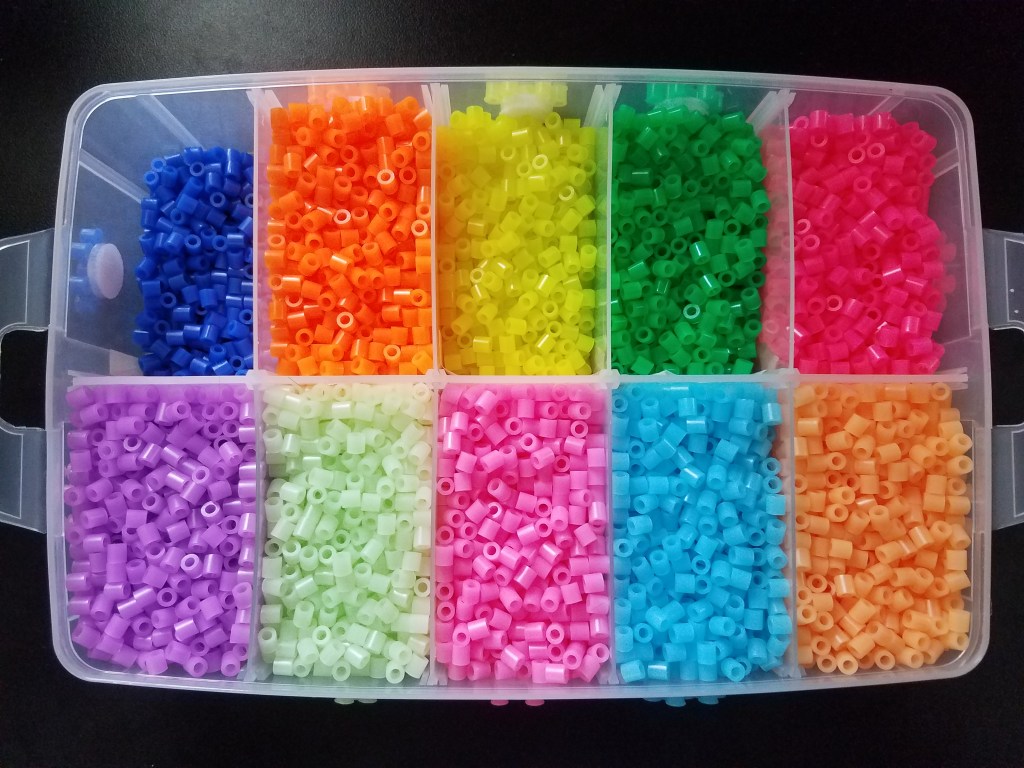
Neon
There’s not much to say about the neons. Like the glitters, they are translucent as well and come in bright, eye-catching colors. There’s only the 5: neon blue, orange, yellow, green, and pink. Depending on your project, these can make for good shading substitutes.
Neons on the top row, glow-in-the-dark on the bottom
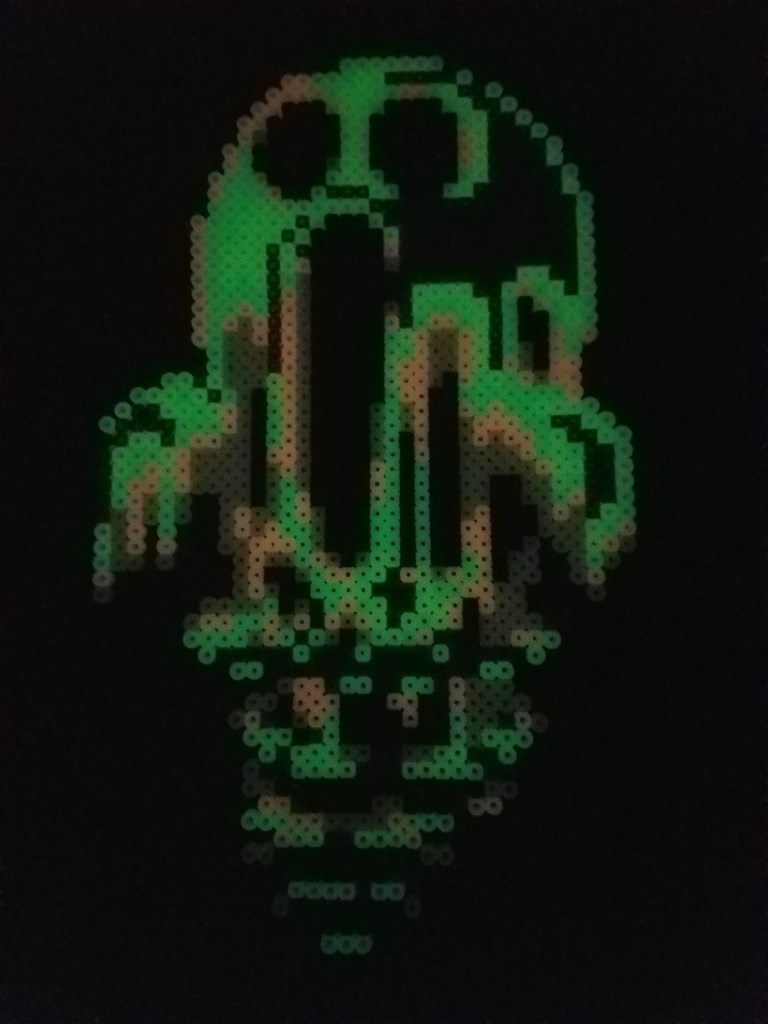
Glow-in-the-Dark
My personal favorite, next to the good old-fashioned solids. Like the pearls, these only come in a very specific ‘Glow-in-the-Dark’ bucket (if you’re wanting to include the purple). They are loooooads of fun and truly do live up to their name.
‘Melting Ghost’ I made that is indeed glowing
Color-changing
I don’t actually own these, but I thought they deserved a mention. Did any of you ever have a special ring as a kid that changed colors when you held it out t in the sun? Well, that’s exactly what theses beads do. Kinda cool!
Here’s my attempt to show off the various types of colors based off of some things I’ve made.
some of my first ever creations (mom squash-ironed them with a towel)
I grew up a crafty kid. My parents always encouraged my creativity by getting me little artsy kits for painting, sewing, building, et cetera. One day, Mom got me a Perler bead kit complete with fun colors and crazy animal pegboards. I LOVED that kit. I loved it so much, in fact, that every time my elementary school was cancelled for snow days, I would immediately grab that big bucket of beads and start making cute little flowers and monkeys while I watched the snow fall outside. It was the best!
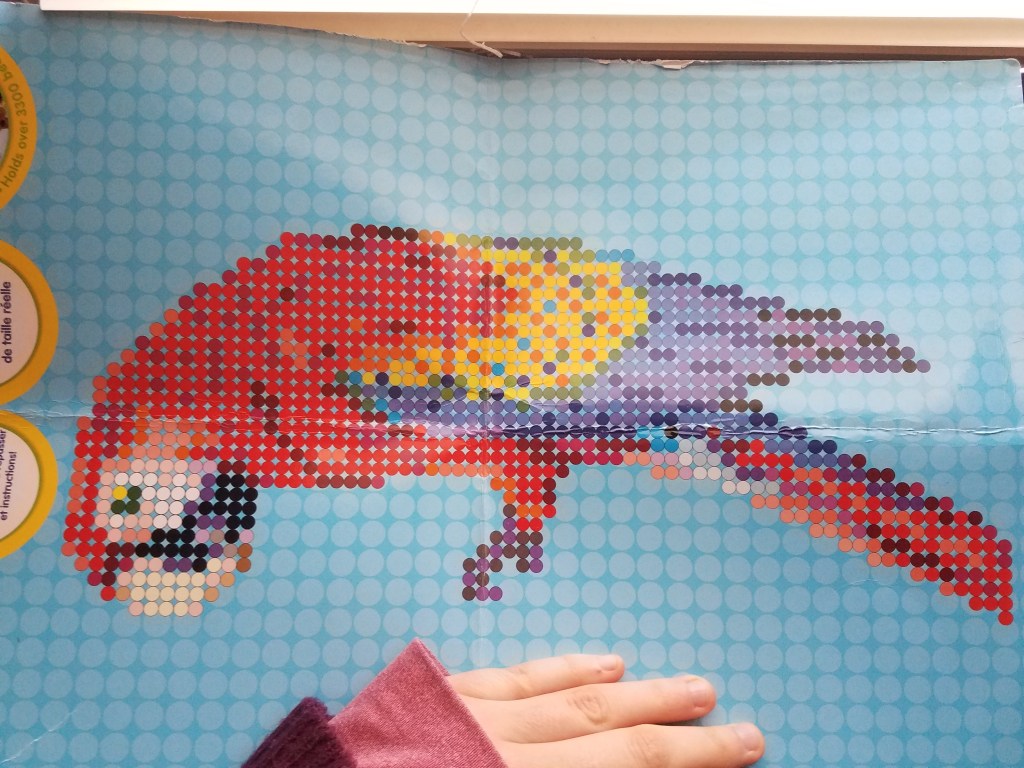
Fast forward to my high school years where I hadn’t touched the beads since I was a kid. Enter Undertale — a new RPG-like indie video game that was taking the internet by storm. I was obsessed with Undertale and, as any crazy fan girl would do, I started looking up fan art. Boy, was I surprised when I discovered that people were using Perler beads to create the characters, an excellent choice for giving off that pixelated look. I realized I still had that big bucket of beads lying around and the idea struck me then and there that I could make the characters, too! Thus, my hobby was born!
copyright of Toby Fox
Aaaaaand that’s it. I’ve been beading ever since. Oddly enough, this activity has helped to boost my confidence in a way. You see, I’m a perfectionist by nature, which means I scrutinize over every tiny detail being correct…especially in my projects. Looking back at it now, it was really annoying. I’d make project after project like it was nothing, but refused to iron anything because I was so afraid I would squash it (like Mom tended to do) and lose the integrity of the character. So it continued like that for a while.
the first creation I ever ironed myself
Eventually, the day came when I finally plucked up the courage to iron my creations. While the first couple were a success, my overly cautious attitude made me impatient and, as you might expect, I ruined quite a few creations along the way. At first, this wounded me deeply as I had put so much love and so much of myself into what I had created, and to see it destroyed by my same hand was disappointing. As I continued to create, my ironing skills actually got better, so my success rate of evenly-ironed projects improved. I learned to love my failures and use them as motivation to keep trying.
These days, I make whatever I want whenever I can because college certainly keeps me busy. I’ve been using this quarantine as the perfect time to go through my old stuff I never ironed and do just that. I have a DeviantArt account showcasing my work, but I’m hoping to get an online shop set up soon to begin selling some of them. Now for some fun facts:
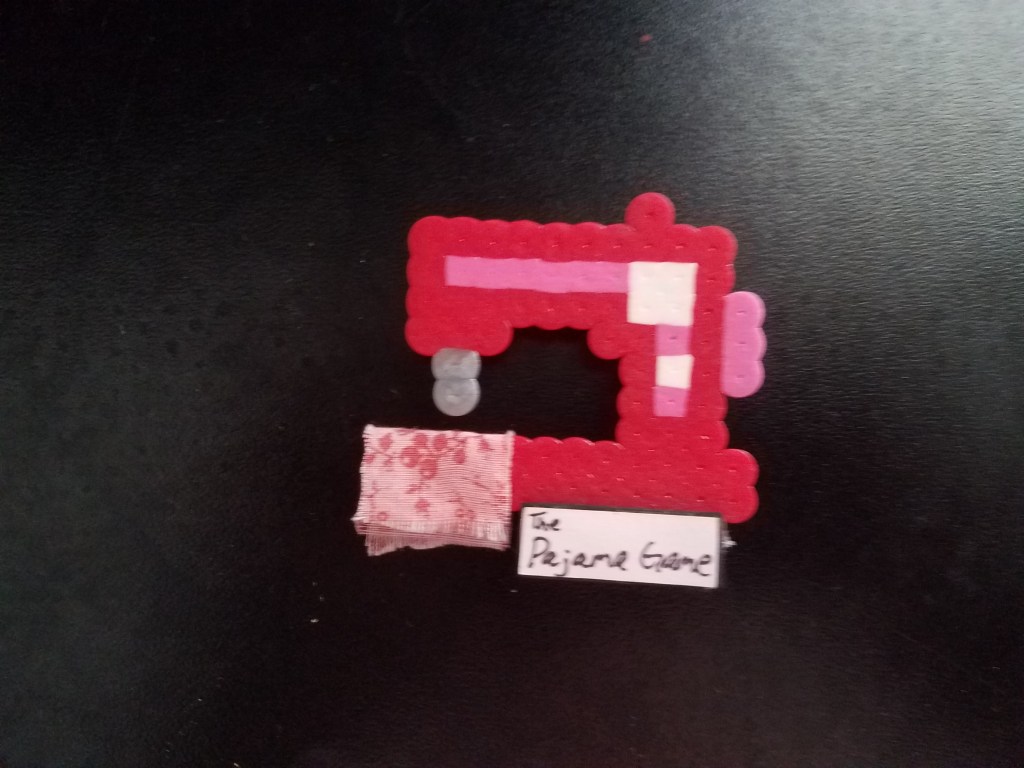
‘Pajama Game’ memento
Fun Fact #1: I was in a musical production called “The Pajama Game” and I made and sold mementos out of Perler beads.
Fun Fact #2: So far, I’ve done one art commission and it was of the commissioner’s original character based on Dib from ‘Invader Zim’.
Fun Fact #3: I made a fan work for one of my favorite music YouTubers ‘TwosetViolin’ and they featured it on one of their videos!!
As we cozy up at home in the midst of social distancing, I decided to rummage through my Perler supply and talk about one of the more colorful and varied aspects of the craft: pegboards! I have collected and photographed as many of them as I own (which is a lot!).
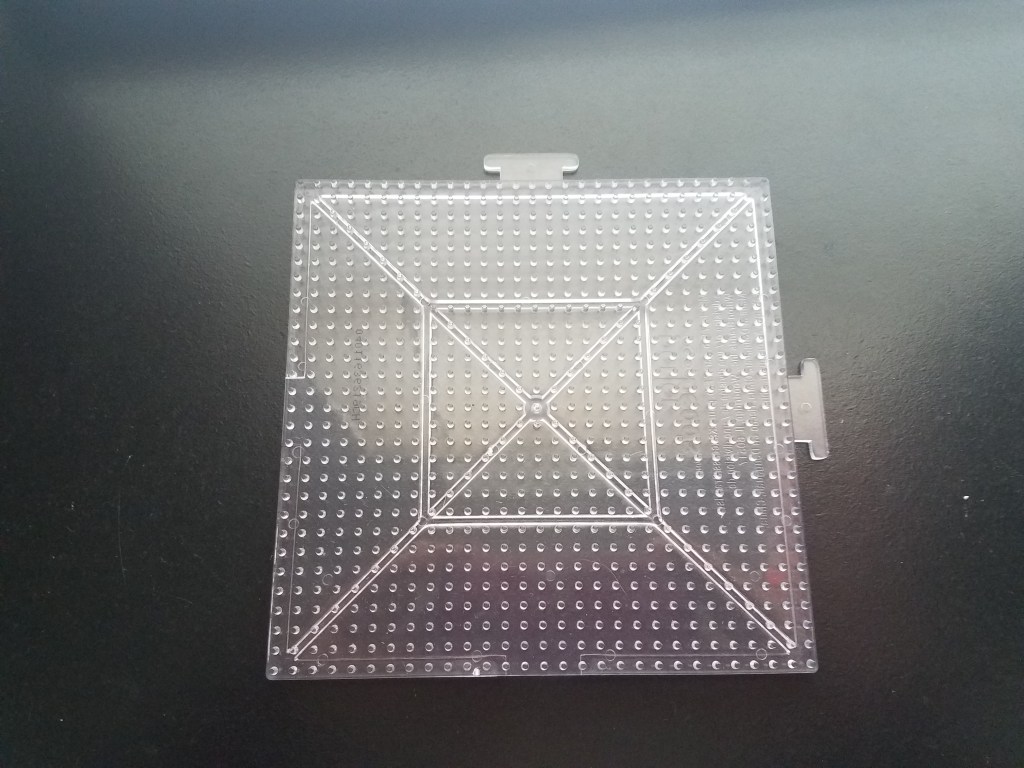
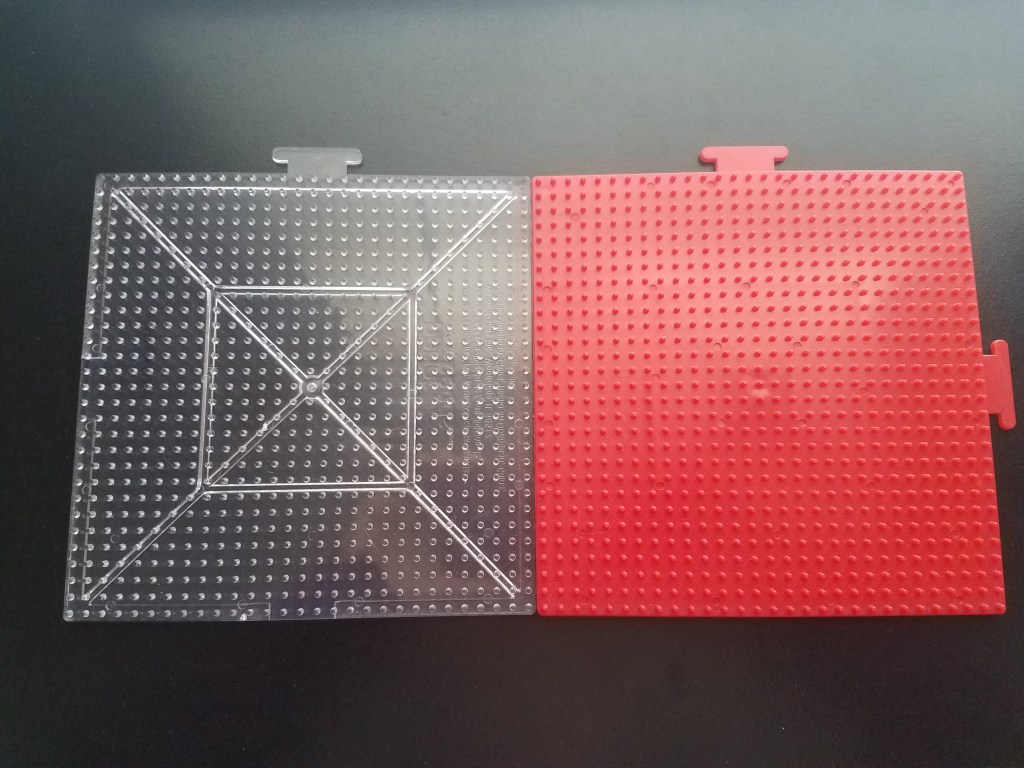
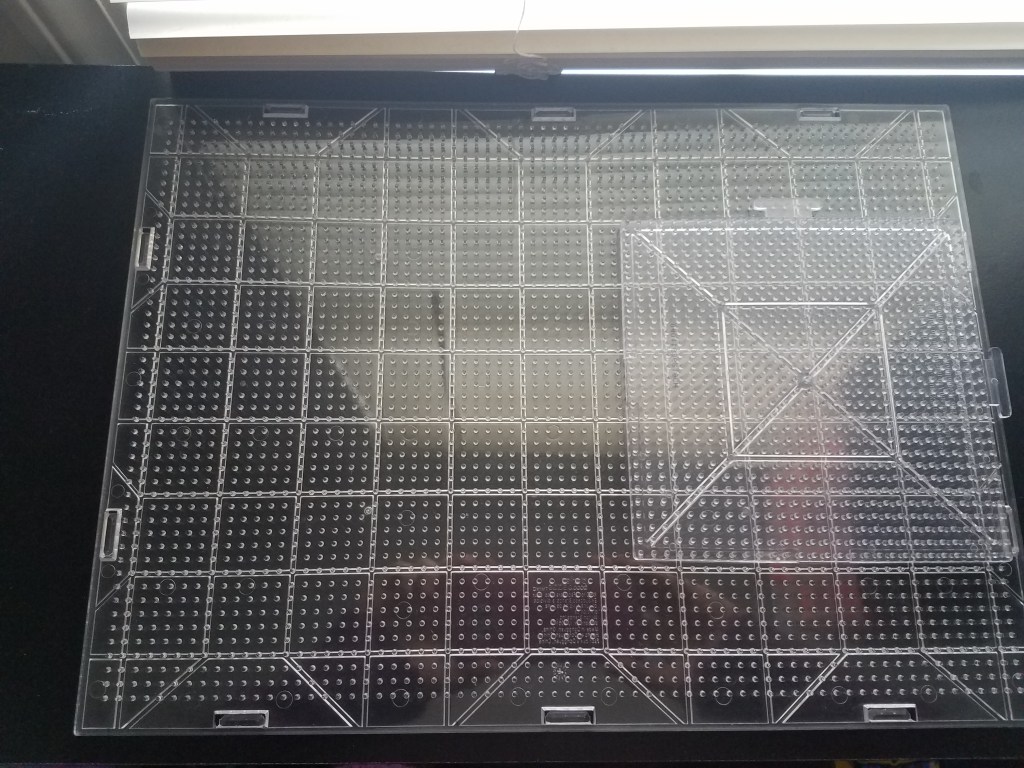
Large Square
the tabs allow the boards to interlock with each other
Ah yes, the good old-fashioned square. The go-to pegboard for your limitless imagination, anything you could possibly want to create! The best part about these boards is their ability to be interlocked with other large squares, as shown in the right-hand picture. This keeps the boards from moving around as you bead, and it allows you to build a board as big as is necessary for your project. Definitely want to stock up on these!
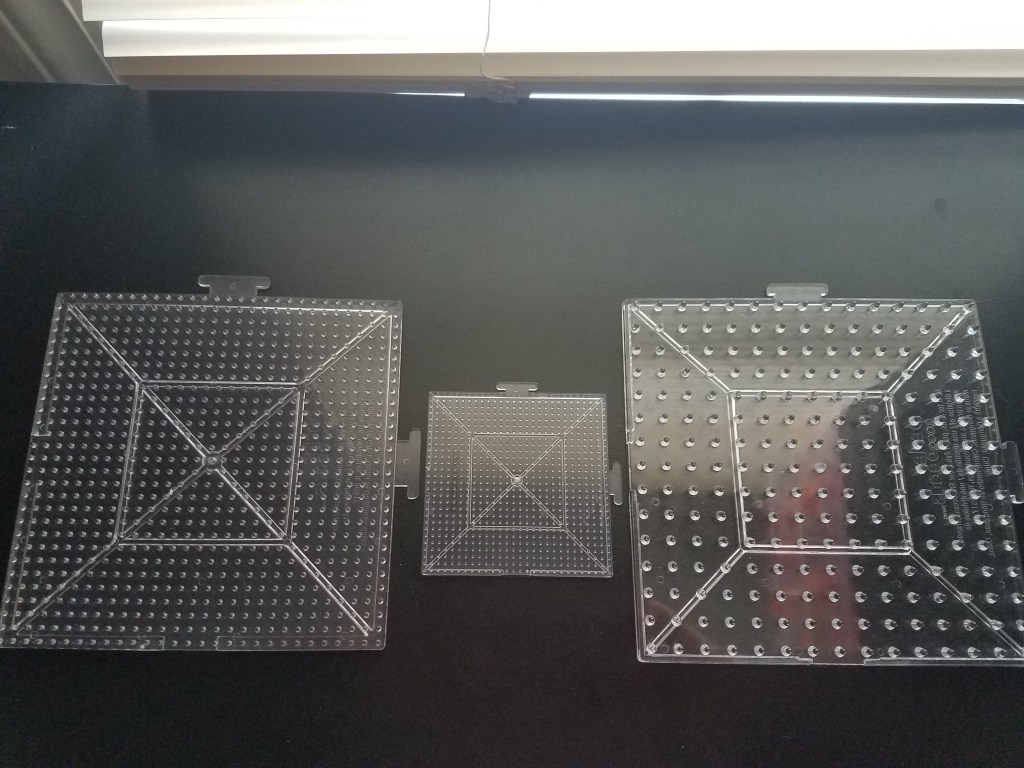
in order: midi, mini, and maxi sized pegboards
As a brief throwback to last week’s blog, here are the standard square pegboards for all 3 bead sizes in the picture here –>
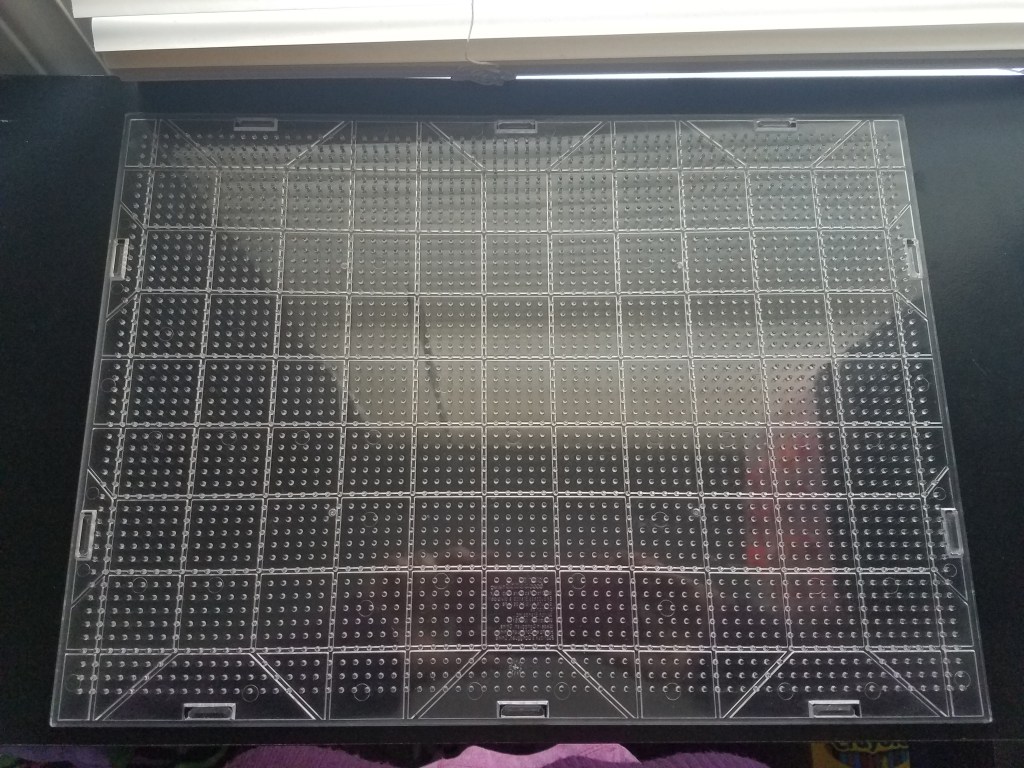
Extra Large Square
L square for scale
XL square pattern
Why put together roughly 6 large square pegboards when you could get the same size in one board! Absolutely perfect for bigger projects. The only downside is that despite having notches on the sides, this pegboard is NOT meant to be interlocked with other boards. Bummer.
Fun fact: Not too long ago, Perler released a extra large version of the mini pegboard. Imagine that, if you will. I don’t have one yet, but I want it so bad!
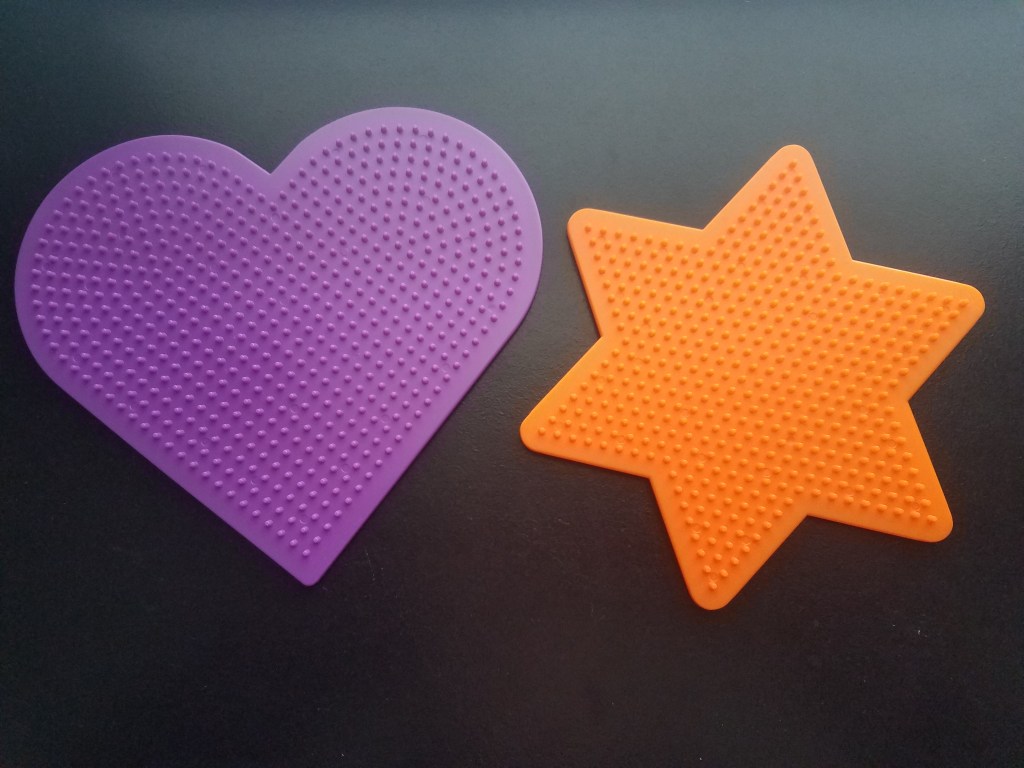
Other Large Shapes
hexagon and circle
heart and star
While most things can be pixelated just fine on a square, sometimes you need a little more curve or geometric edge! These alternate shapes make for some great diversity in that area. I didn’t mention this earlier regarding the red square board, but Perler tends to make their pegboards with bright flashy colors to appeal to the kids. This doesn’t really bother me, but I personally recommend going for the clear boards if you can help it.
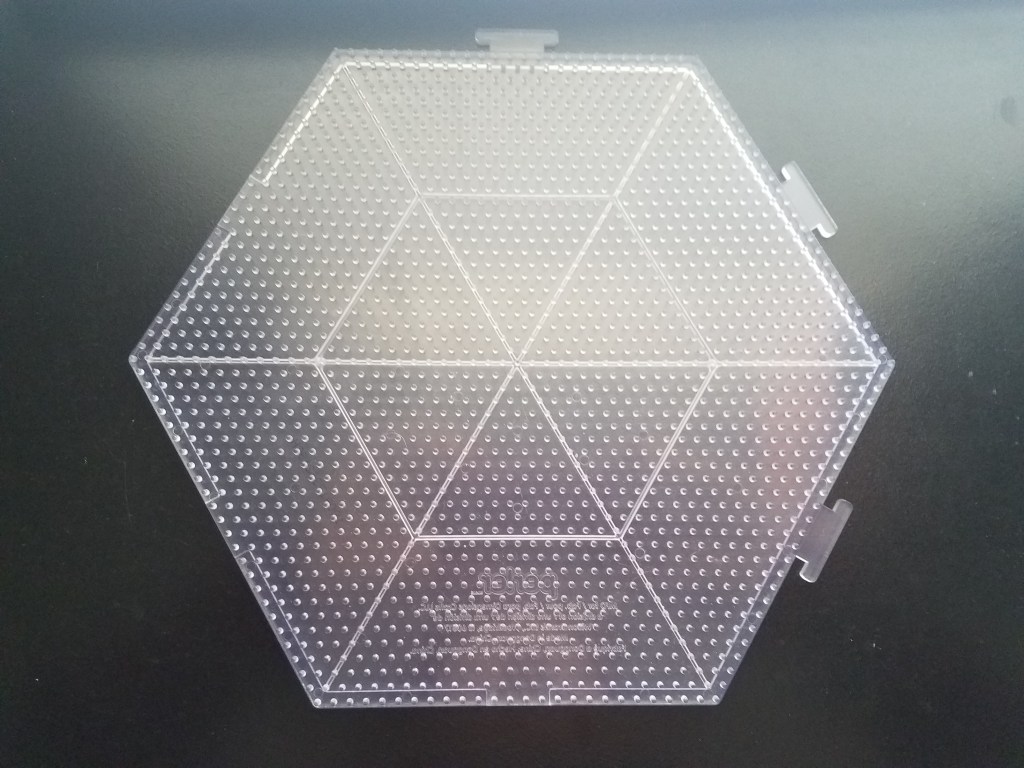
Extra Large Hexagon
L hexagon for scale
XL hexagon pattern
I was thrilled when I discovered this! Especially since it’s a hexagon board with tabs for interlocking, something neither the larger hexagon nor extra large square pegboard has. Unfortunately, Perler discontinued making these and I’m really sad about it. RIP XL hexagon!
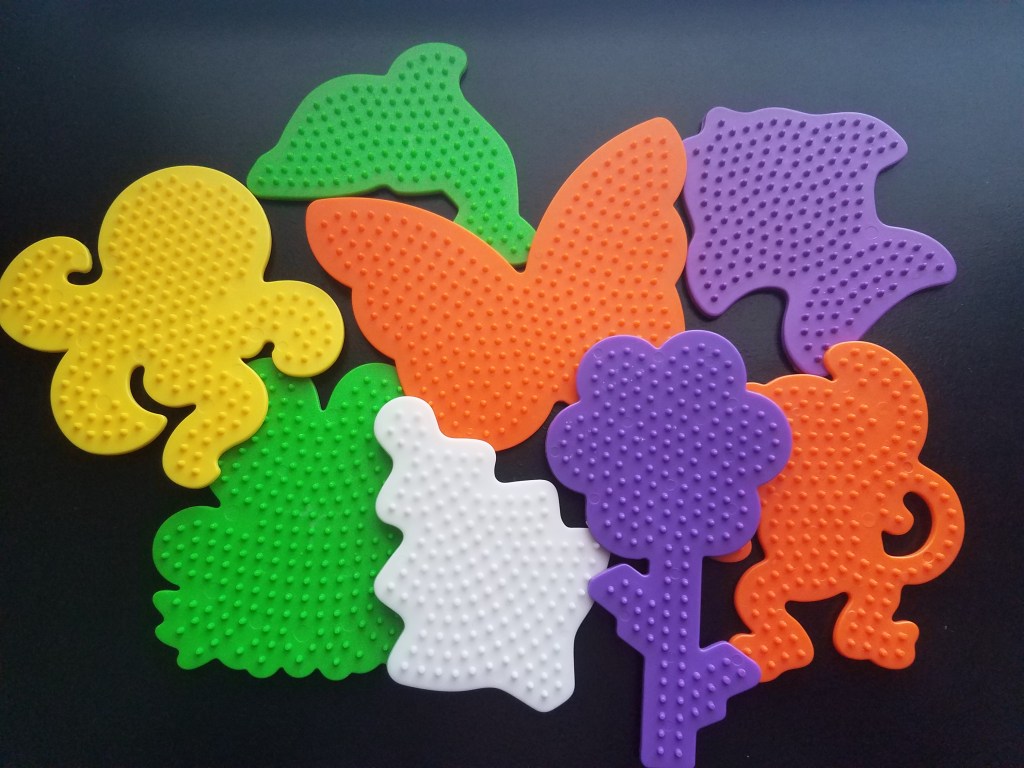
Small Shapes
Perler has plenty of smaller shapes for their smaller projects. The basic square, circle, hexagon, heart, and star are all here! But I would also recommend the arch and daisy for some extra fun.
From left to right: small heart, square, star, circle, daisy, hexagon, and arch
Fun fact: Perler recently released small square pegboards like the one in the picture (yellow) that have tabs for interlocking. Seems to be something they’re trying out with their small project kits.
Random Shapes
From left to right: octopus, frog, butterfly, dolphin, Christmas tee, flower, monkey, and fish
Finally, these are the random boards I have. It’s common to find them in kits, especially those centered around a specific theme. I don’t use these as often because of their restricted shape. However, they are fun do with the kids, and you can still make cool things with them for those days when you just don’t have the motivation to make your own pattern. Some other shapes I know of are a 5-point star, a cupcake, an owl, a t-shirt, a girl or boy, a car, and many more!
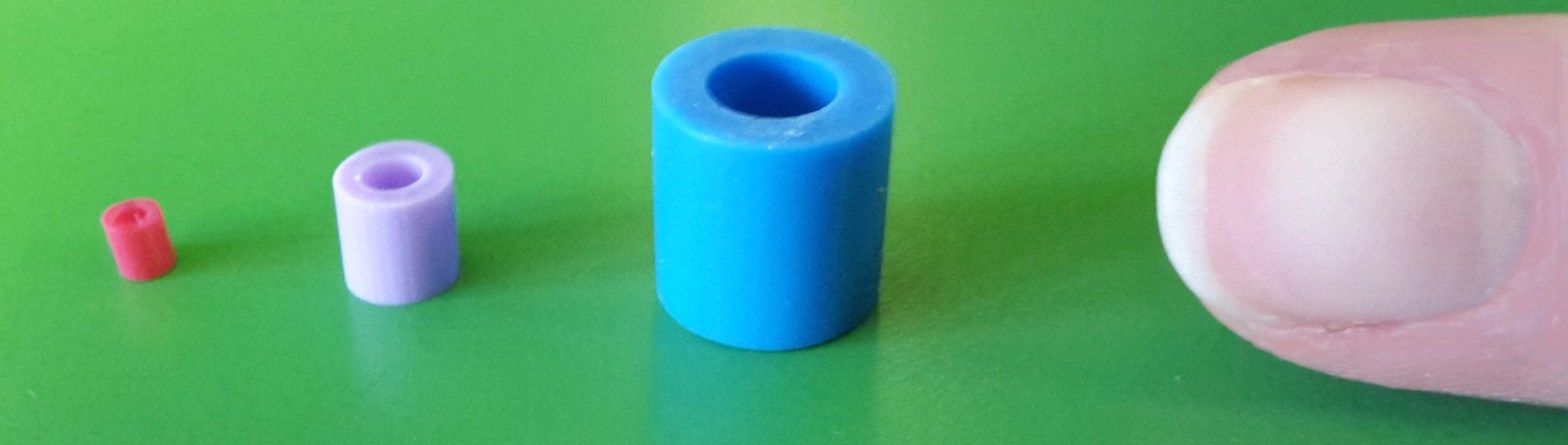
This week’s topic is a brief look into the 3 different sizes that Perler beads typically come in: mini, midi, and maxi.
Midi Beads
Midi beads (5 mm)
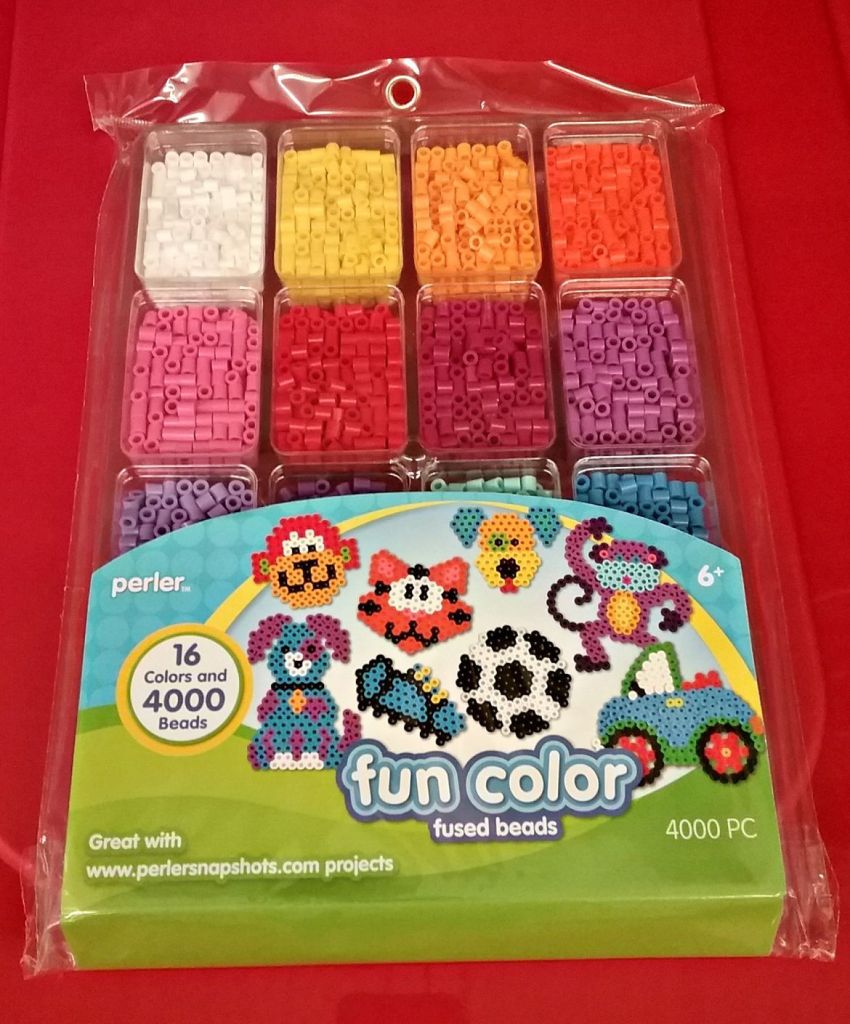
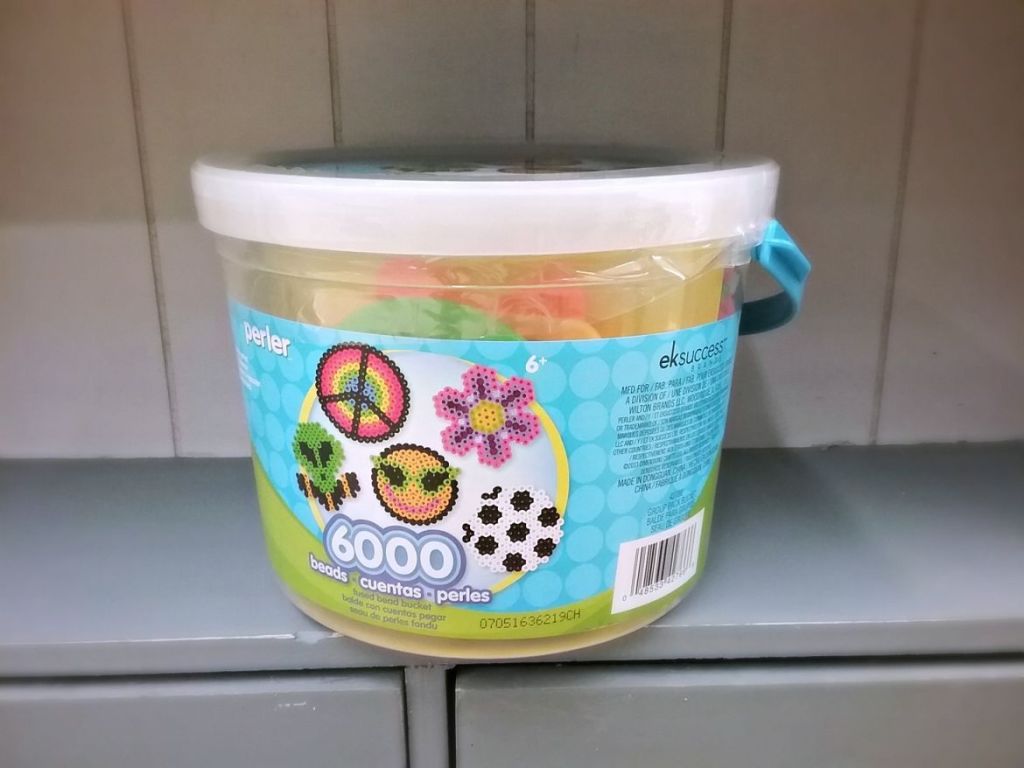
Midi beads are the standard size, measuring at about 5 mm (millimeters) per bead. Because they are the standard, they are the easiest to get your hands on at your local craft store. Perler officially offers over 100 assorted colors and mixes to choose from, and they typically come in bags of 1,000 or 6,000 beads. Naturally, tools and other important accessories, like pegboards and tweezers, are sized appropriately to fit the standard. For best melting results, your iron should be on medium setting.
Mini Beads
Left – Mini beads (2.5 mm)
Mini bead Warm, Cool, Neutral, Rainbow trays; pegboards and tweezers
Mini bead jewelry
Mini beads are about half the size of regular beads, measuring at 2.5 mm. These beads are super fun, but are a bit harder to see and handle. Because of this, you will definitely want to invest in a pair or two of mini tweezers — they will save you the hassle! Also, don’t forget the mini pegboards! The mini beads don’t have as big of a color variety as their midi counterparts do (not even half!), and usually come in assorted trays like the ones pictured above. As far as ironing goes, you’ll either want to put it on a lower setting or use the same medium setting that you do for the midi beads but for a much shorter time. They’re great for smaller projects like jewelry, and can be found at select craft stores such as Michael’s.
Maxi Beads
Bucket of biggie beads (10mm)
Otherwise known as “Biggie beads” in the Perler brand, these beads are double the size of regular beads at about 10 mm. Like the mini beads, these also require a specific pegboard; however, they don’t require tweezers as they are already big enough to be handled comfortably with your fingers. This is what makes them great for kids. Unfortunately, the colors for these beads are even more limited than their mini counterparts and are only found in mixed buckets like the one in the picture. Because they are bigger, they will need to be ironed on a high setting. It’s rare to find this size at a craft store; your best bet is to find them online.
Last week’s post was a beginner’s guide to perler beads. Here’s a list of some of the tools and accessories that can assist you in your creating!
Tweezers
These are an absolute MUST! There is nothing wrong with using your fingers to pick out the beads or place them on the pegboard, but doing so can get really annoying when your fingers are just too big. Let’s say you completed a project but didn’t like one of the colors you used. These plastic tweezers are especially great for removing those beads without damaging the rest of your project. They’re relatively inexpensive, too, at only about $3 for a package of 2. I can’t recommend these enough!!
2-pack of tweezers
Scoop Tweezers
A 2-in-1 special kind of tweezers with a scoop on the other end. I’ve personally never used these before, but I’m sure they’d come in handy for scooping and picking out beads from a large tub. Also about $3.
Ironing Paper
Just like the normal tweezers, this is an absolute MUST! You can’t iron your project without using ironing paper. It protects the beads from melting directly onto your iron, which would not only ruin your project but your iron as well. You can purchase official Perler ironing paper sheets like the ones below for about $4 or a roll for $7. Alternatively, parchment paper works as an excellent substitute. Do not use wax paper under any circumstances!!
Ironing paper sheets
Bead Pen
I own the bead pen and I have mixed feelings about it. It has a sliding mechanism at the top that allows you to store beads in there without losing them. The beads then slide down the tube and into the holding chamber. You press the button, the holding chamber slides forward and plop! Out comes the bead. This accessory is especially useful for projects that use a large amount of a particular color. In my experience, the holding chamber does tend to get stuck sometimes, and that gets annoying fast. If you’re willing to try it regardless, it’s only $5.
Bead Sweeper
This is another accessory that I’m not familiar with, but it appears to be a convenient idea. It’s like a mini vacuum for perler beads, and trust me when I say that those tiny little bits of plastic can get very messy very quickly. You simply roll the device over loose beads and they collect in the clear compartment. Then you open the compartment and voila — more beads to work with! The reviews I’ve seen for this product claim that it works best on flat surfaces, so sorry to all of you with carpet floors! Like the pen, this one is also priced at about $5.
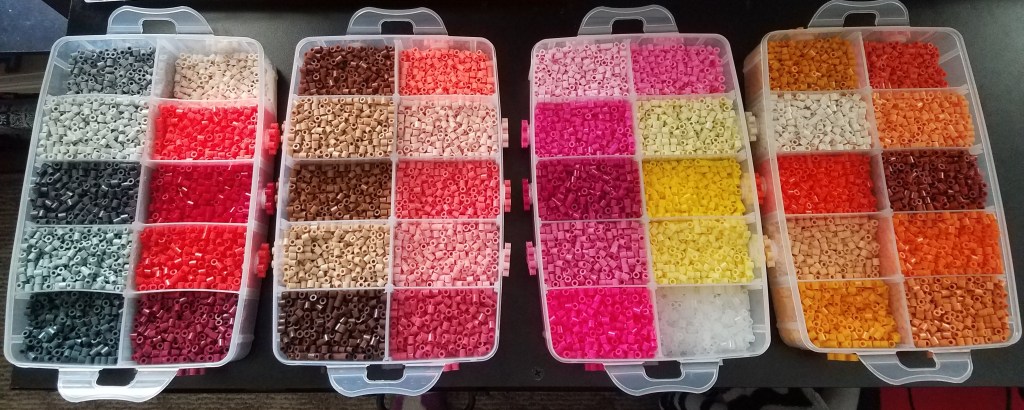
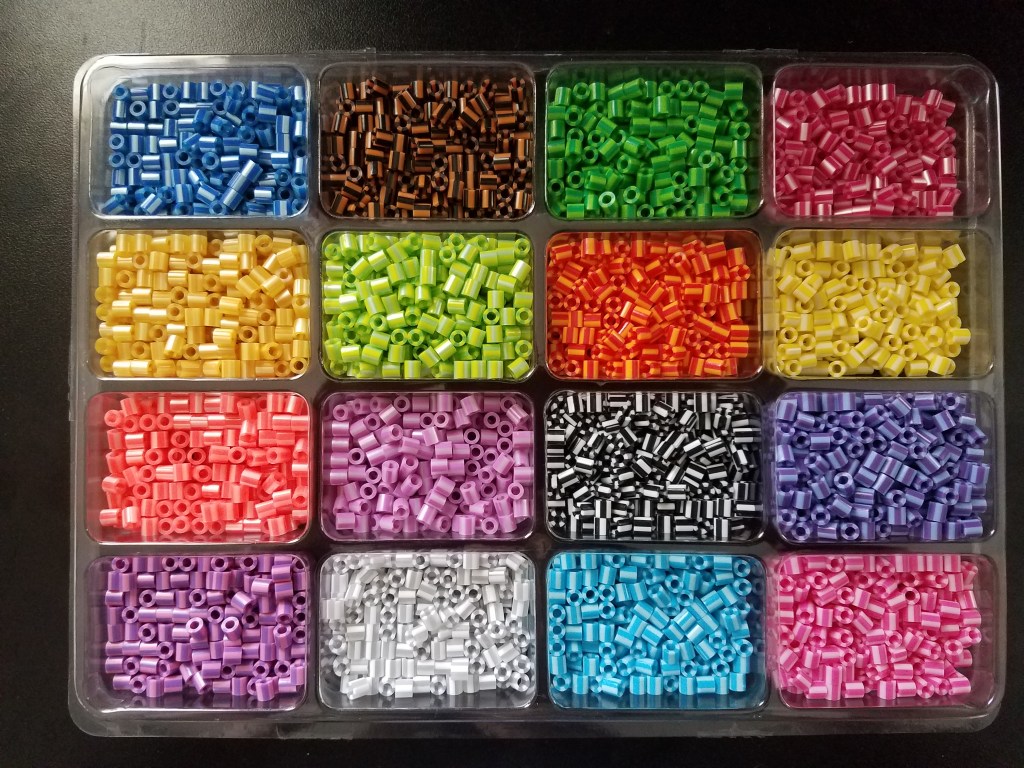
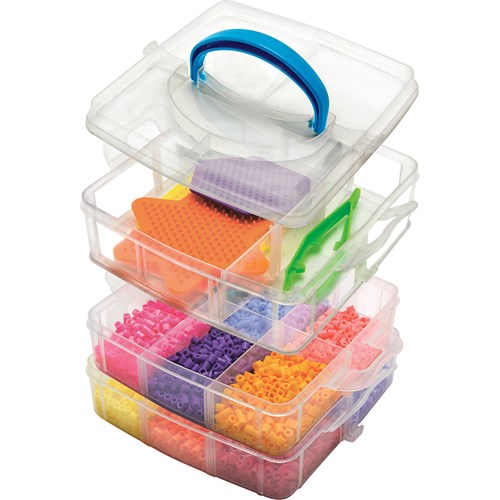
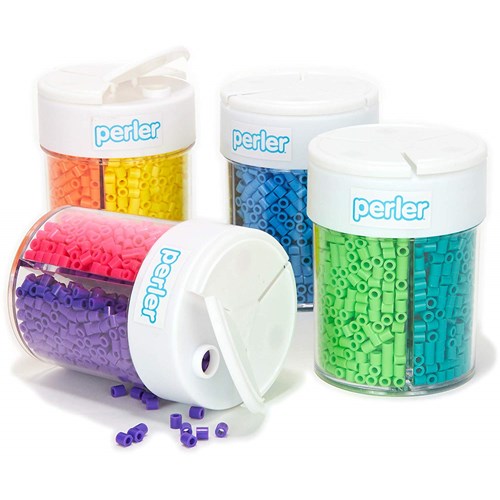
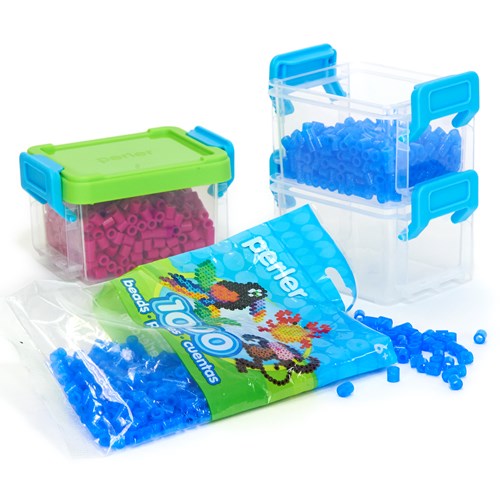
Storage Containers
different types of storage containers
Finally, storage containers are perhaps the MOST IMPORTANT accessory for your perler beads. After all, you have to have somewhere or something to put them in, right? Which kind you use is completely up to you. I personally keep all my beads in the stack-able storage trays. I find there is just enough space in the compartments for full 1000 bead bags and I can differentiate the colors much easier. Depending on how big of a storage container you choose, prices may range from $5-$20.
Perler beads can be found in craft stores like Michael’s, but I suggest going to Hobby Lobby as they have a wider selection of assorted colors, buckets, trays, and supplies. For beginners, I recommend buying either a starter bucket or pre-sorted tray.
Left: pre-sorted tray Right: starter bucket
Other supplies you’ll need include:
At least one pegboard. These come in different shapes, but most patterns use the common square.
Ironing paper or your everyday parchment paper. Don’t even think about using wax paper!It will stick to your creation and ruin it!
An iron to melt the beads. Doesn’t have to be anything special, just your everyday household iron will do.
#2 Pick out a pattern
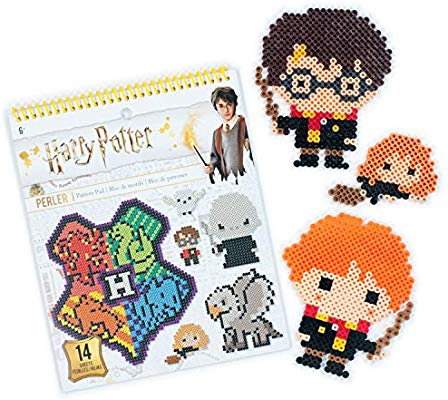
If you’re not sure what to make, you can find some inspiration by purchasing an official Perler idea book. Otherwise, the internet has plenty of ideas to offer.
official Perler Harry Potter idea book
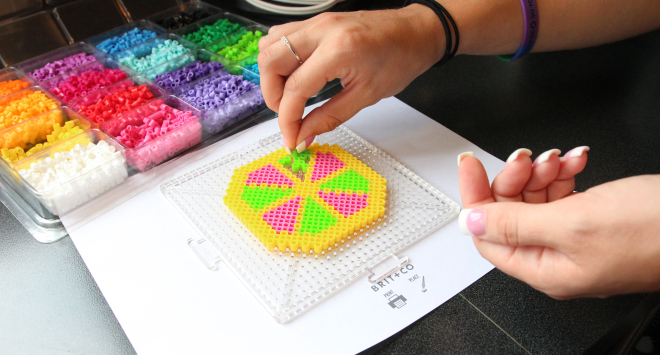
#3 Follow the pattern
Before you begin making your creation, I suggest sorting out the bead colors first. It eliminates the hassle of trying to fish them out as you bead and saves a lot of time. Once you’ve done that, all you really need to do is place the beads on the pegboard according the your chosen pattern. Be careful not to bump them!
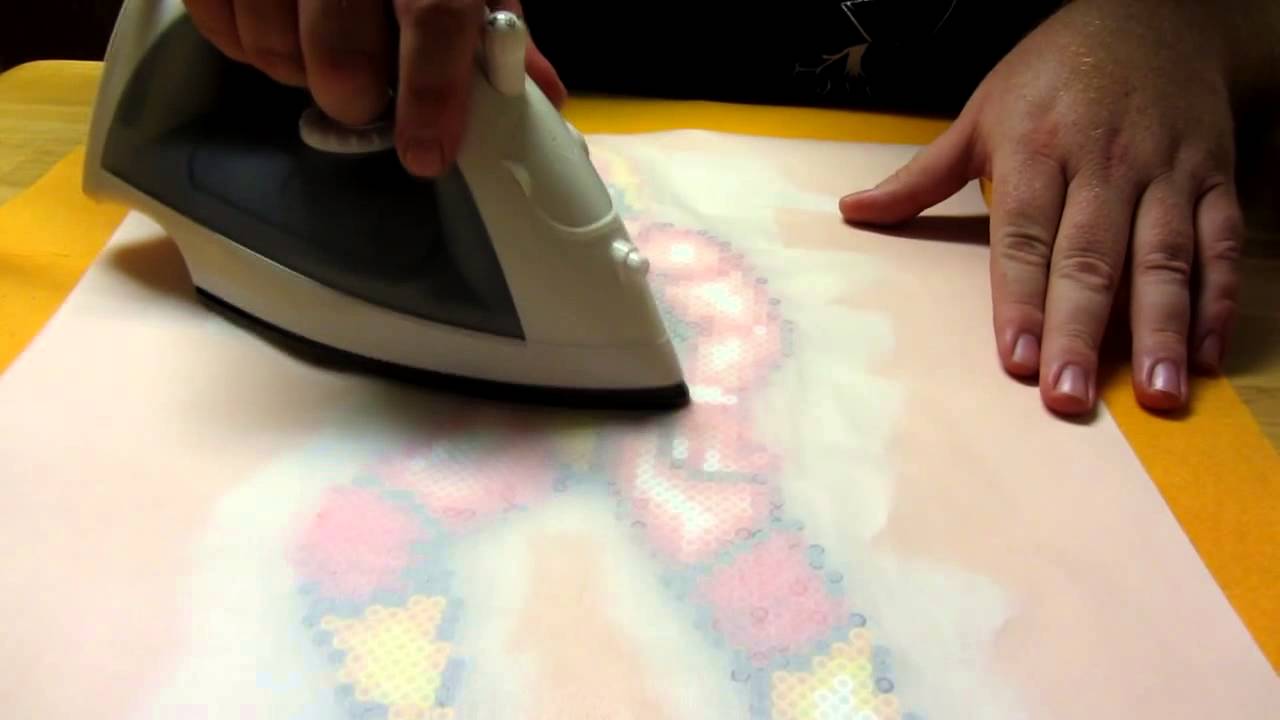
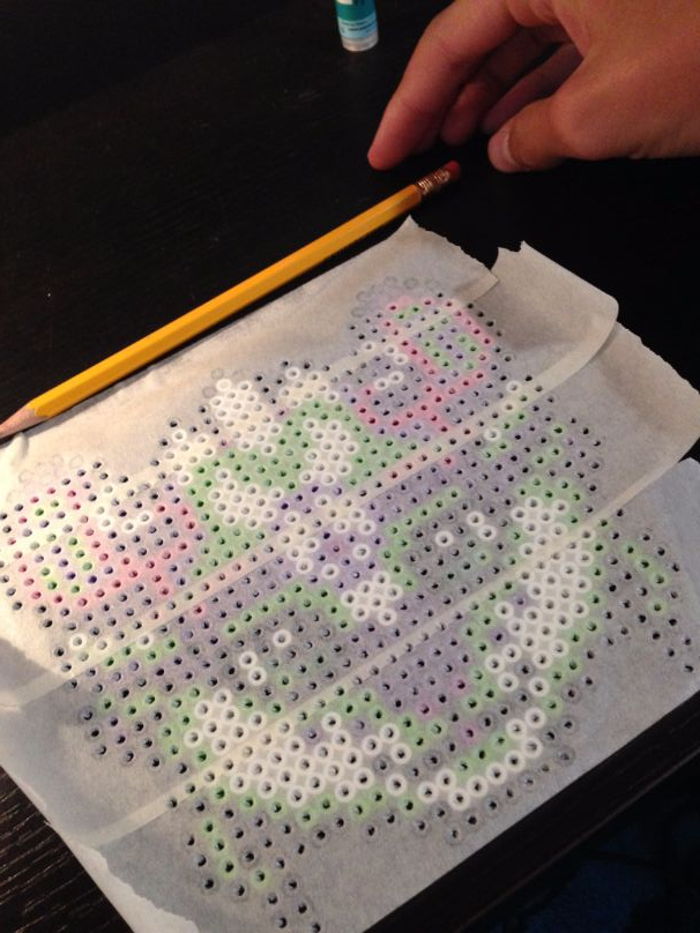
#4 Ironing
Pre-heat your iron on a medium setting. When you’ve finished placing all the beads on the pegboard, cover them with a piece of ironing paper. Once your iron is hot, you can begin ironing in a circular motion for about 15-20 seconds. This part can take some getting used to as everyone’s iron is different. Ironing can be an art form in itself and you may have to experiment with different motions, time, and pressure.
Remember: there are 3 different methods of ironing. How you do it is up to you!
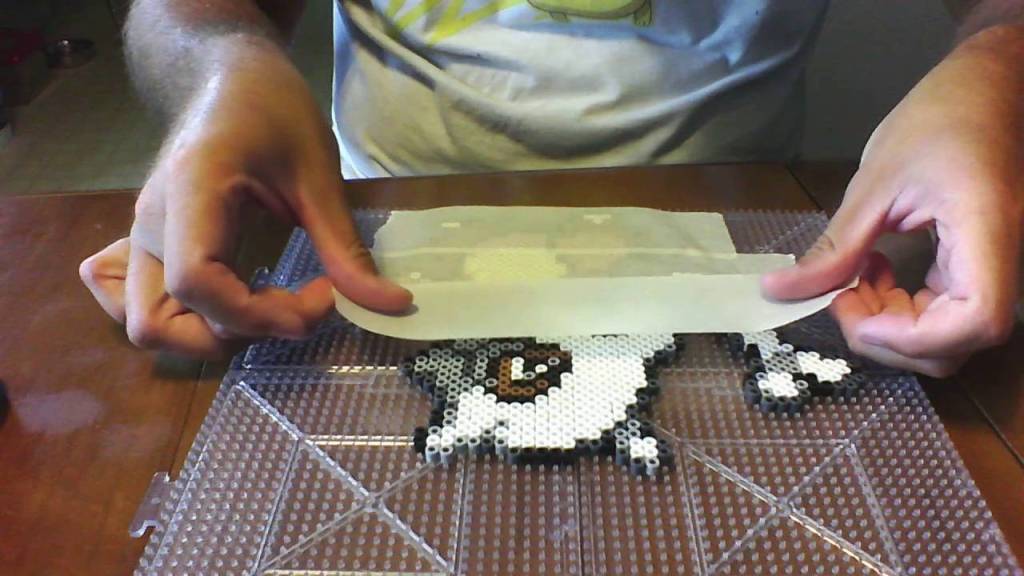
#5 Final steps
When every bead in your creation sticks to the ironing paper, remove the iron and place a flat heavy object like a book on top to keep it flat while it cools. Then flip it over and repeat the same steps for the other side. Once it has cooled completely, you can remove the book and the ironing paper carefully and then voila! Your creation is complete! Feel free to do whatever you like with it; gift it, make magnets or key chains, or get even craftier with a hot glue gun!
Ironing may not be the most time-consuming part of perler beading, but it is certainly the most important! The durability and overall look of your final project depends on how well you iron it!
General ironing tips
Use a flat bottom iron NOT a steam one
DO NOT ADD WATER! (the steam will ruin the beads)
Pre-heat your iron on a low-medium heat
Use flat parchment paper for the best results
Make sure you are ironing on a flat surface
Always iron in circular motion to give off even heat
Time your ironing from 20-45 seconds depending on size
Traditional Method
Every instruction manual that comes with perler bead projects will recommend the standard method of ironing. Following the general tips above, you want to make sure you can still see the bead holes through the parchment paper, which should look a little smaller by this point.
First side of thorough ironing
If it looks like a “.” instead of a lower case “o”, then your heat is too high or you worked an area too much. Once you finish ironing the front side, you flip it over and iron the back side. When it’s all said and done, the final project will be sturdy on both sides and look something like this:
Masking tape method
This method is great for larger projects. It can avoid seams that sometimes appear between connected pegboards, or reduce the chance of beads springing off the pegboards during fusing. It may take a bit more time and effort, but you may find the results more pleasing. Apply standard masking tape CAREFULLY over the beads, barely overlapping strips, until the design is completely covered. Use the tape roll to press the tape well onto the beads, making sure all are adhered. Be sure to trim excess tape to around the design. While piercing the holes can release potential air pockets, it isn’t necessary. Proceed with usual ironing. Once that’s done, flip it over and ever-so-gently remove the tape to continue ironing the other side. You can choose to leave this side alone, but it will result in it being a little fragile.
Flat melt method
Unlike the traditional method, the point of this one is to iron so thoroughly that it actually flattens the beads to the point of giving off a pixelated look. Some people prefer this effect for for projects like video game sprites.
BE CAREFUL! Even if you are going with the flat melt method, it is still very easy to completely over-iron your artwork, resulting in a disaster like this:
One of my earliest projects melted so completely flat that it warped
Last week, I mentioned how the history of fuse beads birthed the various brands that are around today. So why does this matter? After all, a fuse bead is a fuse bead. It will do its job no matter who makes it…right? WRONG!! Think of it like the chains of fast food pizza. You may prefer Pizza Hut over Domino’s, or Papa John’s, or Little Caesar’s, etc. While they are all essentially pizza, they couldn’t be more different from each other in taste and quality. Fuse beads are no different. They are NOT made equal and they will NOT all yield the same results!
Melty beads
Defective beads
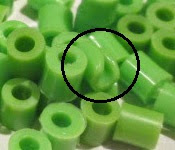
Stores like Walmart carry melty beads at comparatively cheaper prices, but don’t be fooled because they are TERRIBLE! They have a bad habit of coming straight from the package extremely misshapen. Sometimes they vary in shape and size, sometimes bits of excess plastic hang off them, and sometimes the middles are not even hollowed out like they should be. Virtually useless. And they don’t even fuse well together at all, forming a horseshoe shape rather than a round one and thus breaking easily.
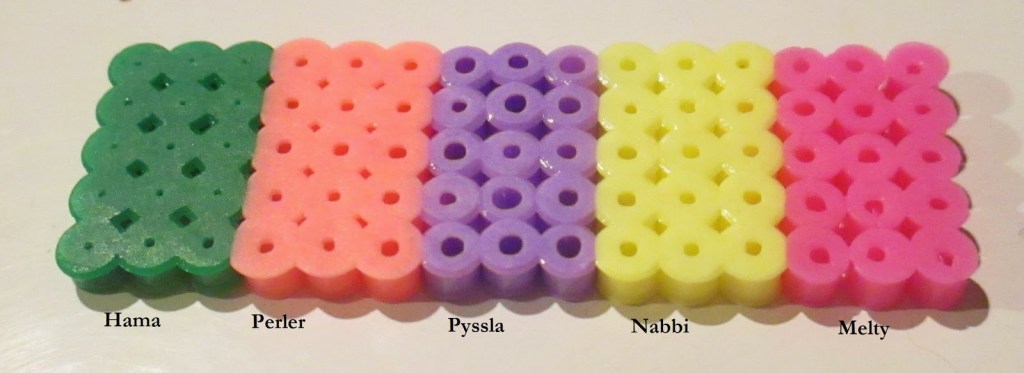
Pyssla
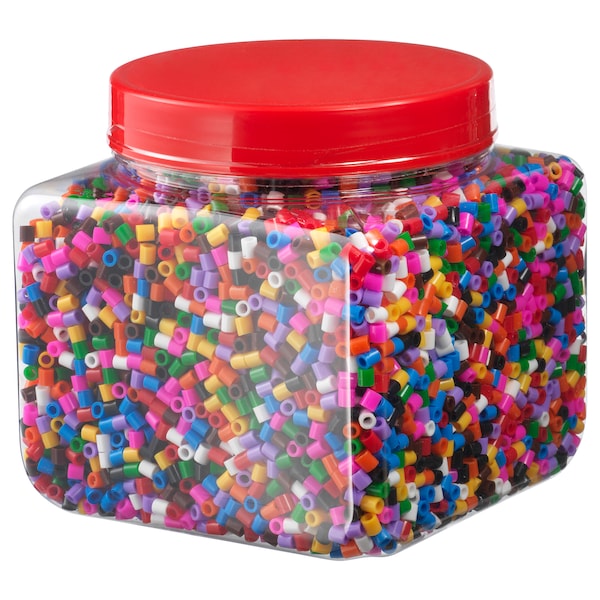
A mixed jar of Pyssla beads
Pyssla beads — or as I like to call them, IKEA beads — aren’t the worst out there, but they’re not very good quality. Their lack of thickness or pliability yields a creation that looks good but will break apart fairly easily. They are also slightly shiny.
Hama
Hama beads are the shorter ones
Hama beads are bit smaller than other beads and the plastic feels almost soft, so when they’re fused they become almost spongy–still retaining their shape, but being much more flexible than the other beads. They also have a lower melting point and a certain glossiness to them.
Nabbi
Nabbi (photo pearls) are the shiny yellow ones
Nabbi beads, otherwise known as Photo Pearls, retain their circular shape and are raised in in the middle. They also have a nice shine to them.
Perler
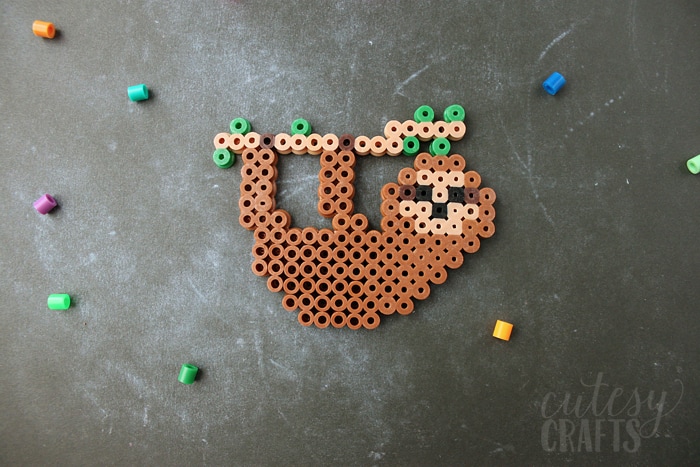
A sloth made of perler beads
Finally, my personal favorite. All perler beads are 99% of the time uniformly shaped. They are made of high quality material that is slightly flexible when fused together, making for a more durable creation. They tend to flatten when melted and have a matte finish to them.
Final Thoughts
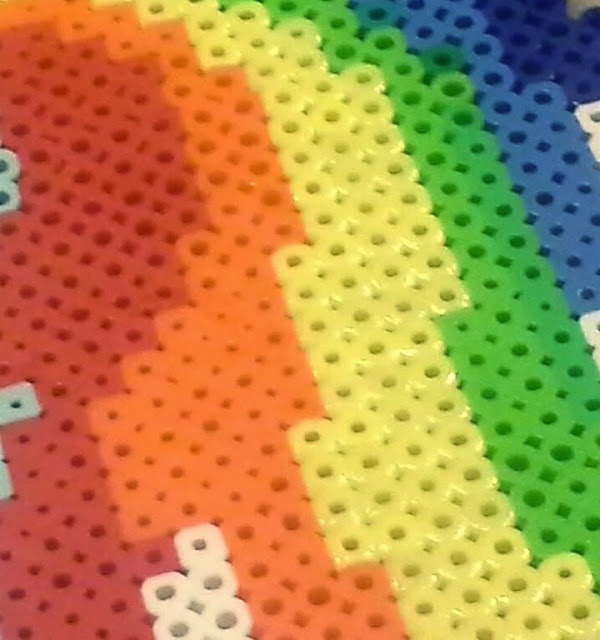
A comparison of the different bead styles when melted
In my experience, Perler and Nabbi are the best quality beads by far. I’ve also worked with China’s Artkal beads and they work excellently, too (they appear similar to Perler which is why I didn’t include them on this list). It’s important to be aware of these different brands, their melting points, and how they look when melted because the last thing you want to do is mix the wrong ones together and completely ruin your project.
So, with all this in mind, I want your opinion: which brand do you prefer??