Ironing may not be the most time-consuming part of perler beading, but it is certainly the most important! The durability and overall look of your final project depends on how well you iron it!
General ironing tips
- Use a flat bottom iron NOT a steam one
- DO NOT ADD WATER! (the steam will ruin the beads)
- Pre-heat your iron on a low-medium heat
- Use flat parchment paper for the best results
- Make sure you are ironing on a flat surface
- Always iron in circular motion to give off even heat
- Time your ironing from 20-45 seconds depending on size
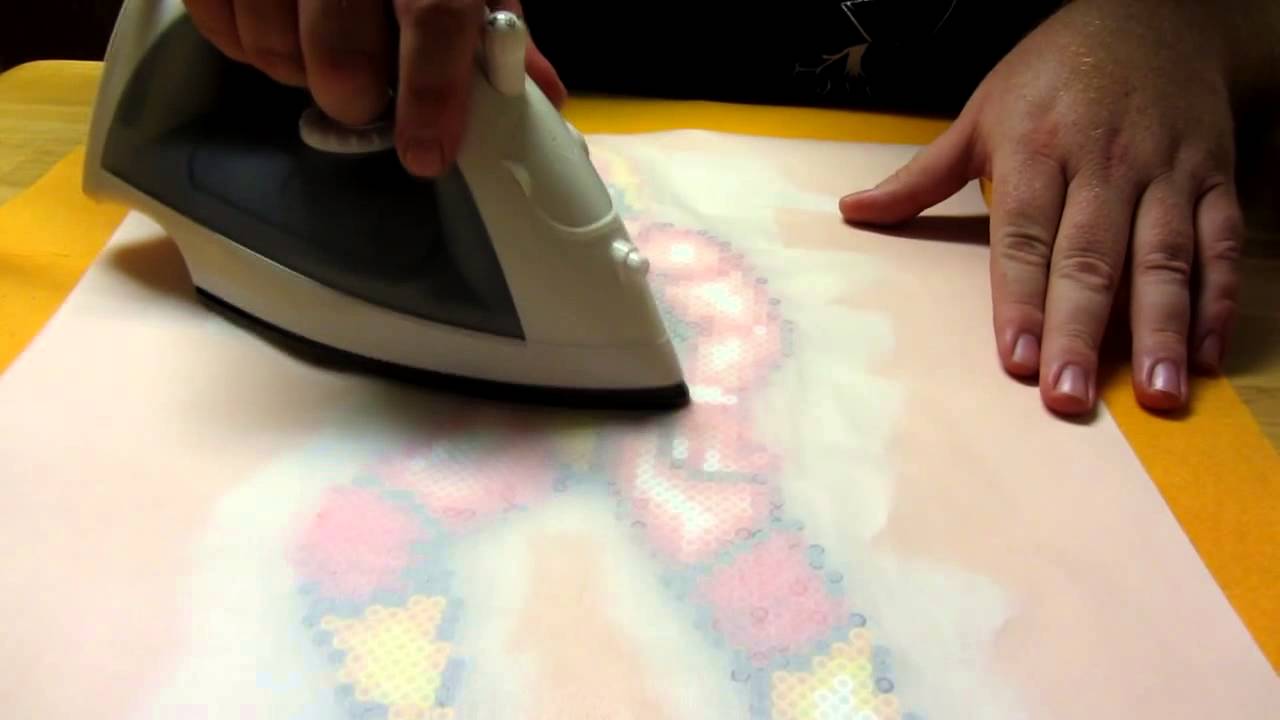
Traditional Method
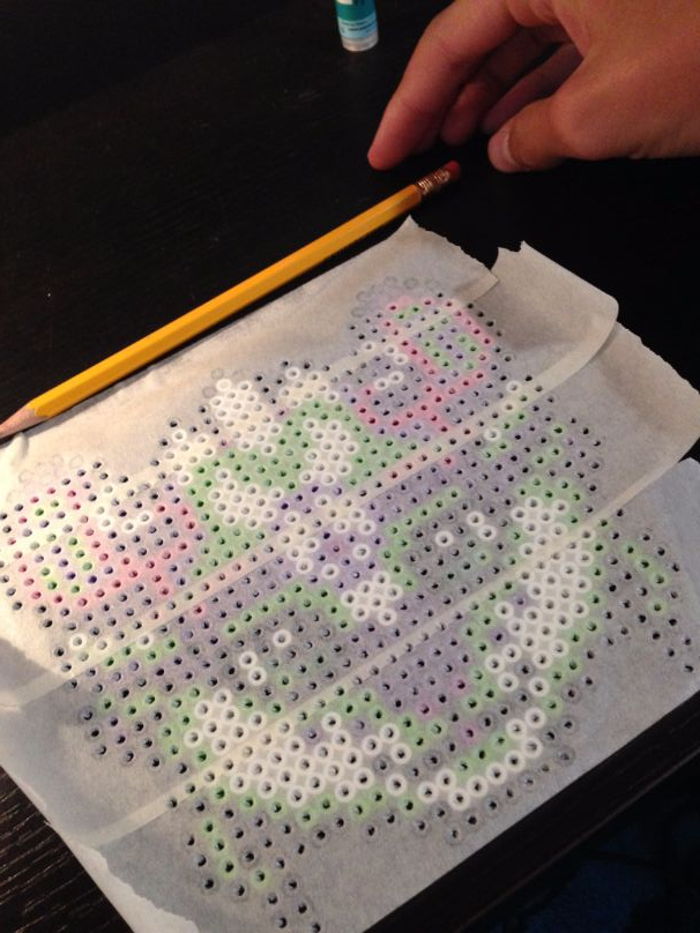
Every instruction manual that comes with perler bead projects will recommend the standard method of ironing. Following the general tips above, you want to make sure you can still see the bead holes through the parchment paper, which should look a little smaller by this point.

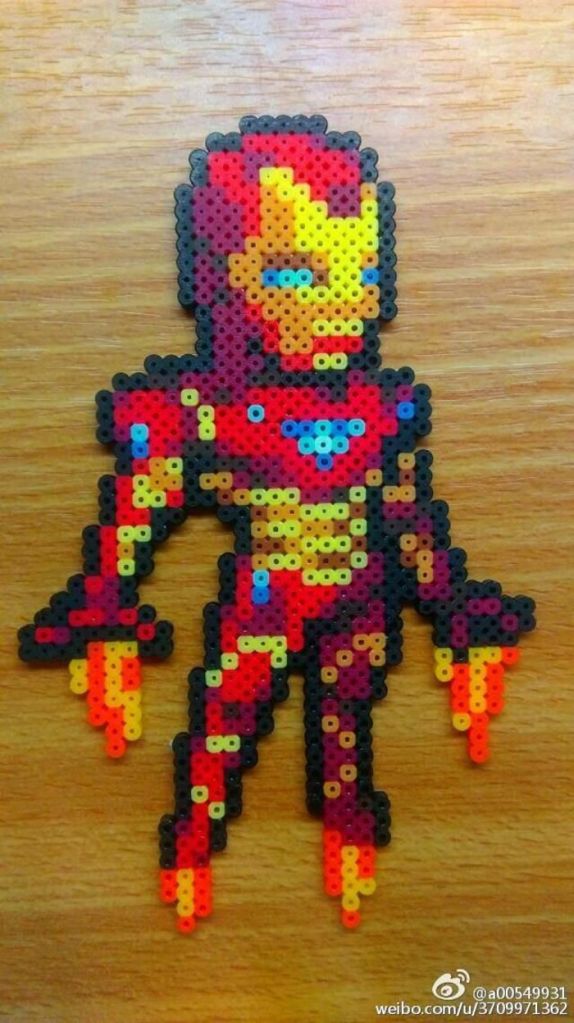
If it looks like a “.” instead of a lower case “o”, then your heat is too high or you worked an area too much. Once you finish ironing the front side, you flip it over and iron the back side. When it’s all said and done, the final project will be sturdy on both sides and look something like this:
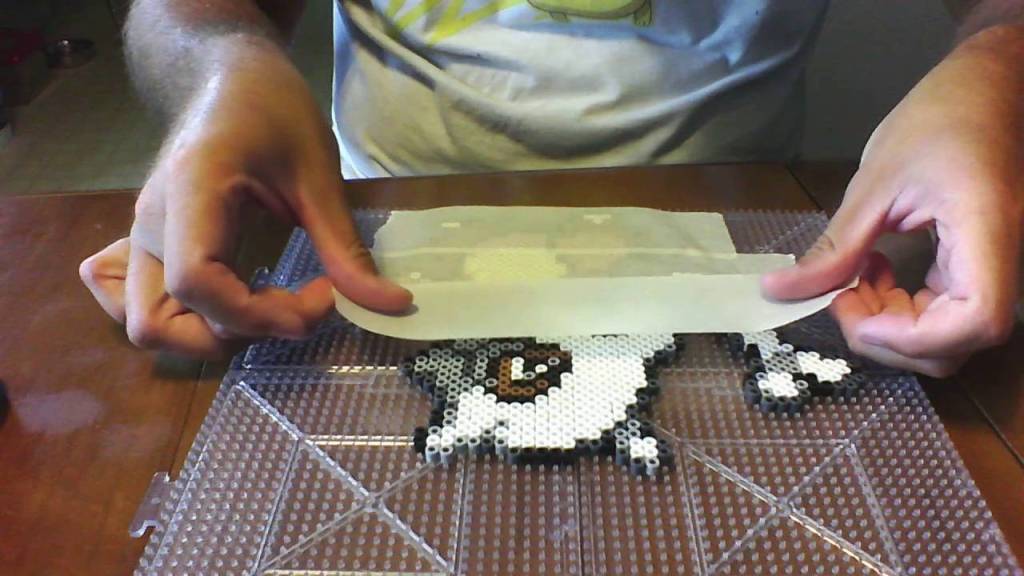
Masking tape method
This method is great for larger projects. It can avoid seams that sometimes appear between connected pegboards, or reduce the chance of beads springing off the pegboards during fusing. It may take a bit more time and effort, but you may find the results more pleasing. Apply standard masking tape CAREFULLY over the beads, barely overlapping strips, until the design is completely covered. Use the tape roll to press the tape well onto the beads, making sure all are adhered. Be sure to trim excess tape to around the design. While piercing the holes can release potential air pockets, it isn’t necessary. Proceed with usual ironing. Once that’s done, flip it over and ever-so-gently remove the tape to continue ironing the other side. You can choose to leave this side alone, but it will result in it being a little fragile.
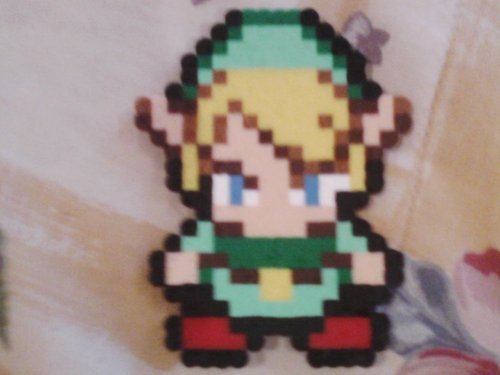
Flat melt method
Unlike the traditional method, the point of this one is to iron so thoroughly that it actually flattens the beads to the point of giving off a pixelated look. Some people prefer this effect for for projects like video game sprites.
BE CAREFUL! Even if you are going with the flat melt method, it is still very easy to completely over-iron your artwork, resulting in a disaster like this:


I didn’t know there were different methods to ironing! I just remember making these as a kid and definitely over doing it! Both methods look pretty cool!
LikeLike
I like that “Do not add water” is in bold because someone like me would forget that step and mess up!
LikeLike
This is honestly pretty cool. A great easy science lesson that s fun
LikeLike
Such helpful tips! I loved doing those activities as a kid. My mom or meemaw would do the ironing for me.
LikeLike
I never knew that there were different methods to ironing beads together! Thanks for the tips!
LikeLike