#1 Buying Perler Beads and other needed supplies
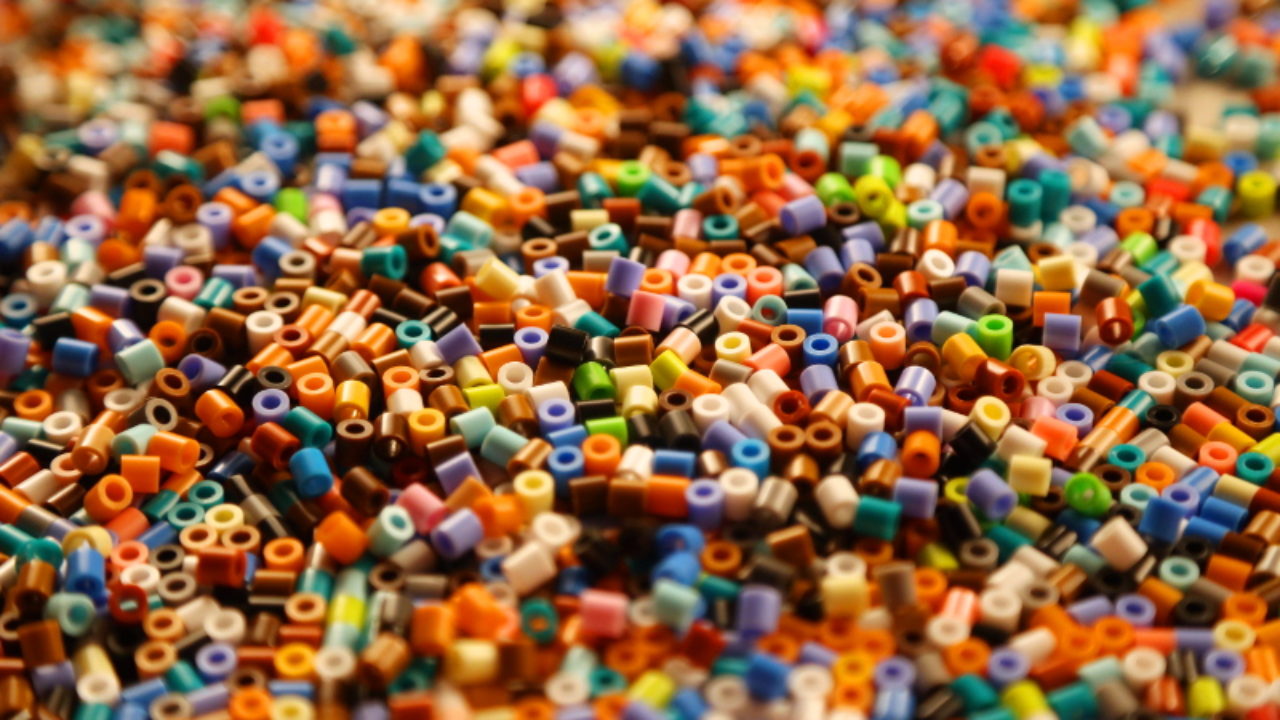
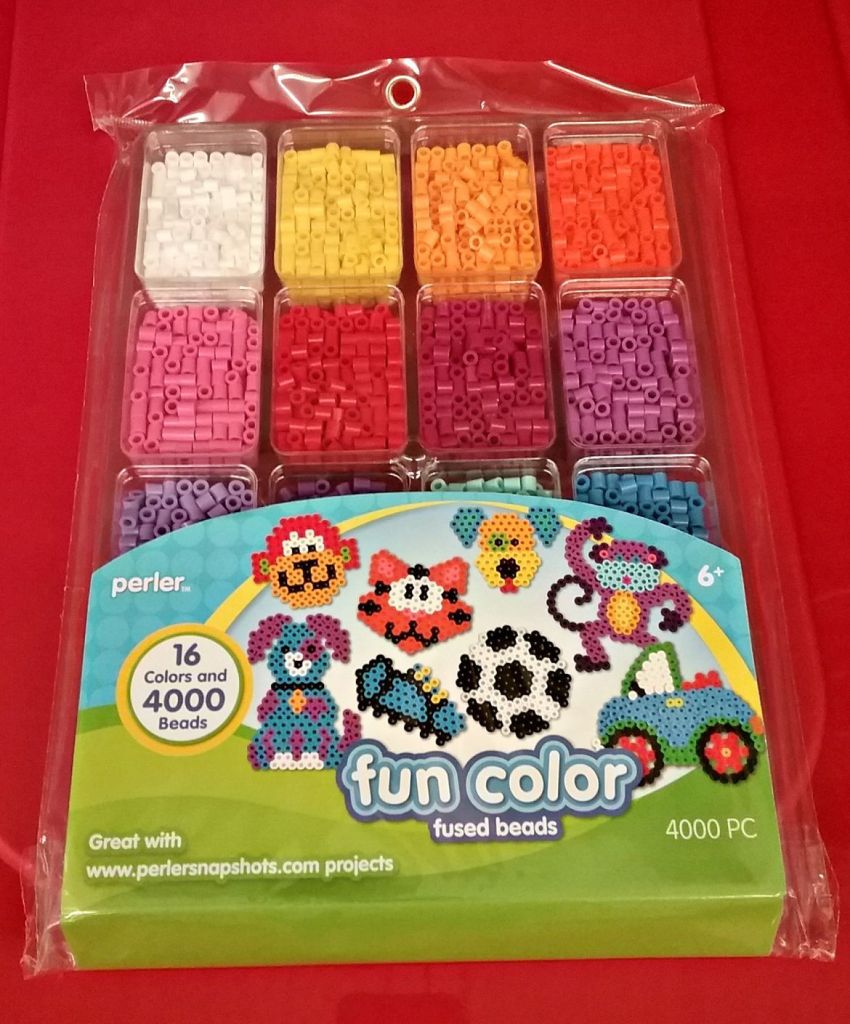
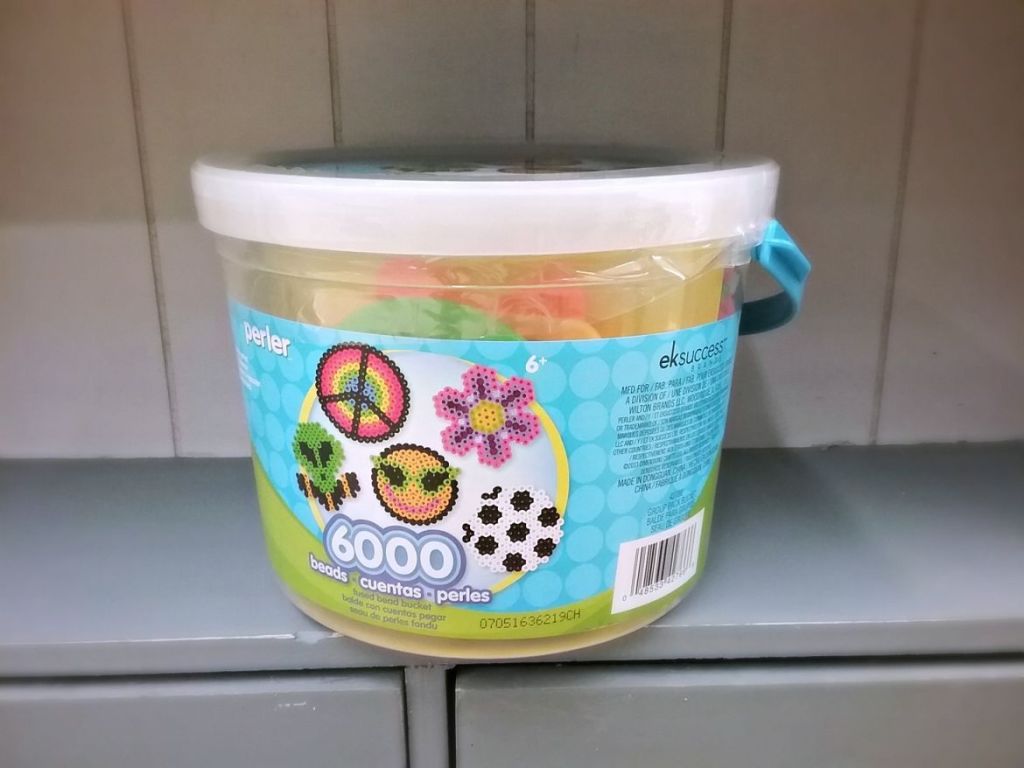
Perler beads can be found in craft stores like Michael’s, but I suggest going to Hobby Lobby as they have a wider selection of assorted colors, buckets, trays, and supplies. For beginners, I recommend buying either a starter bucket or pre-sorted tray.
Other supplies you’ll need include:
- At least one pegboard. These come in different shapes, but most patterns use the common square.
- Ironing paper or your everyday parchment paper. Don’t even think about using wax paper! It will stick to your creation and ruin it!
- An iron to melt the beads. Doesn’t have to be anything special, just your everyday household iron will do.
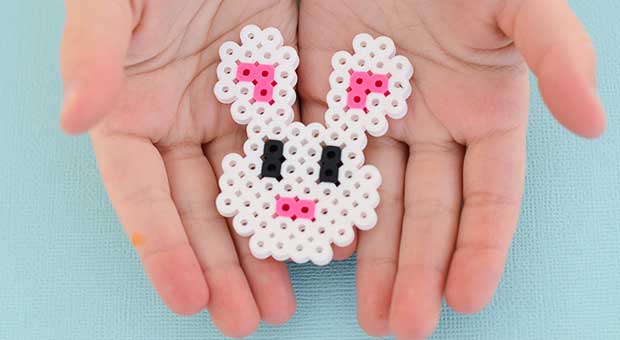
#2 Pick out a pattern
If you’re not sure what to make, you can find some inspiration by purchasing an official Perler idea book. Otherwise, the internet has plenty of ideas to offer.

#3 Follow the pattern
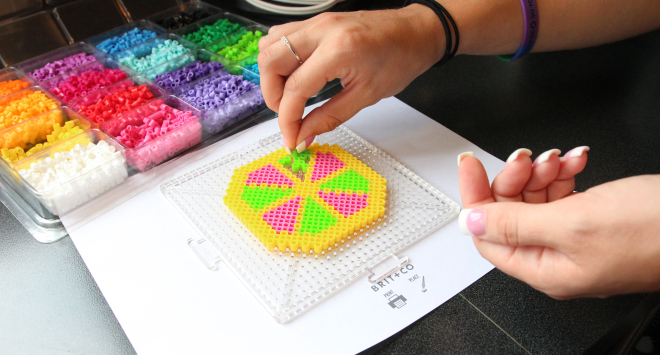
Before you begin making your creation, I suggest sorting out the bead colors first. It eliminates the hassle of trying to fish them out as you bead and saves a lot of time. Once you’ve done that, all you really need to do is place the beads on the pegboard according the your chosen pattern. Be careful not to bump them!
#4 Ironing
Pre-heat your iron on a medium setting. When you’ve finished placing all the beads on the pegboard, cover them with a piece of ironing paper. Once your iron is hot, you can begin ironing in a circular motion for about 15-20 seconds. This part can take some getting used to as everyone’s iron is different. Ironing can be an art form in itself and you may have to experiment with different motions, time, and pressure.

#5 Final steps
When every bead in your creation sticks to the ironing paper, remove the iron and place a flat heavy object like a book on top to keep it flat while it cools. Then flip it over and repeat the same steps for the other side. Once it has cooled completely, you can remove the book and the ironing paper carefully and then voila! Your creation is complete! Feel free to do whatever you like with it; gift it, make magnets or key chains, or get even craftier with a hot glue gun!

Does mixing bead brands mess up a project?
LikeLike
More often than not, yes. It can be really noticable and distract from the overall look. There can be some exceptions, like Perler and Artkal mix really well, but no guarantee for the others. Unless you’re brave enough to chance it, I generally don’t recommend mixing.
LikeLike
This is a great short tutorial on how to get started!
LikeLike
This is such a fun idea!
LikeLike